 SAMPLED
Sampling your own analog synth into a library
Multisampling, round robins, and when a sampled patch beats the real thing on a deadline.
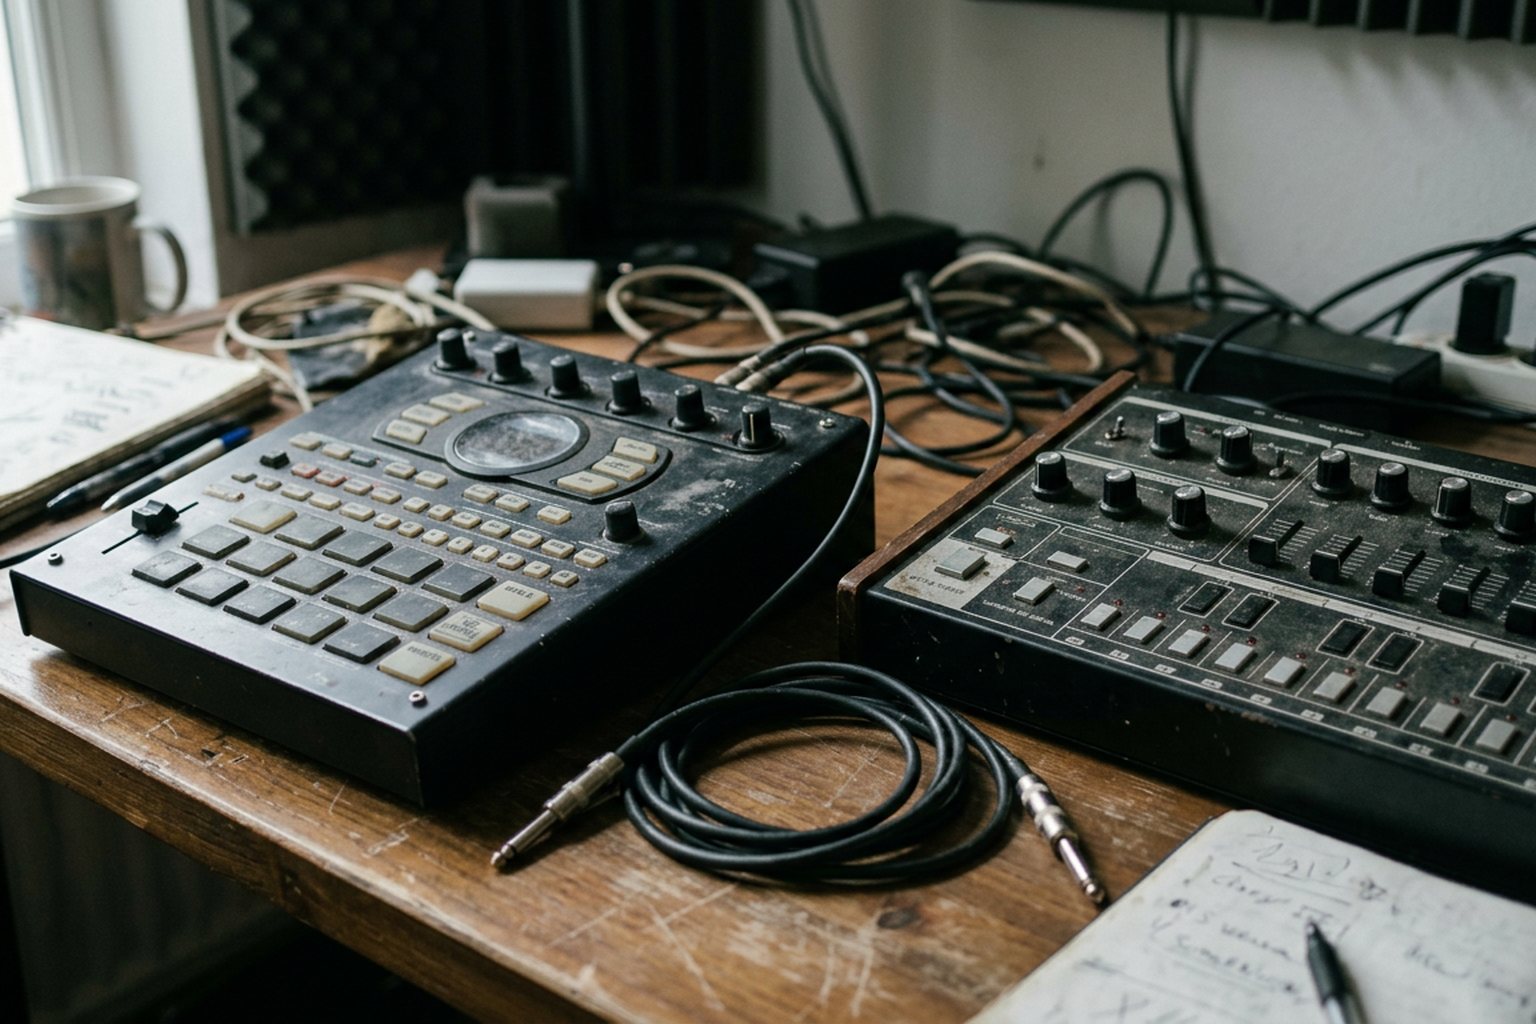
Analog synthesizers are brilliant performance tools, but they can be liability hazards when working against commercial deadlines. Between oscillator drift, lack of patch memory on vintage architecture, and single-voice limitations, relying on live hardware during a multi-revision mix process is a calculated risk. Building a custom sample library from your own hardware patches locks down your sound, expands monophonic instruments into polyphonic workhorses, and guarantees instant session recall.
Why Sample Hardware You Already Own?
The point of multisampling an analog synth is not to replace the instrument. The point is to capture a specific state of that instrument so it can be deployed where physical hardware fails.
A classic monophonic synth like a Moog Model D or Sequential Pro 3 excels at basslines and leads, but you cannot play a five-note pad on it. By sampling every key across four octaves, you turn that single-voice signal path into a polyphonic instrument with arbitrary voice counts.
Speed and recall are the other primary motivators. When a client requests a minor arrangement tweak three weeks after a tracking session, matching the knob positions, temperature-dependent VCO tuning, and outboard routing on a knob-per-function synthesizer takes valuable time. A sampled patch loads instantly in software, sounds identical to the day it was captured, and uses virtually no CPU overhead compared to heavy analog-modeling soft synths.
Preparing the Patch for Capture
A bad capture process bakes permanent flaws into your sample library. Before pressing record, audit the patch on your synth and strip away elements that inhibit flexibility later in software.
- Warm up the circuits. Discrete VCOs need 15 to 30 minutes to stabilize thermally. If you start sampling immediately after powering on, your bottom octave will be out of tune with your top octave by the time you reach the end of the keybed.
- Bypass dynamic effects. Turn off onboard delays, reverbs, and stereo modulation like chorus or flangers. Stereo choruses on instruments like the Roland Juno-106 or Oberheim Matrix-6 sound great live, but when overlapping sustained notes in a sampler, fixed modulation cycles cause obvious phase cancellation. Record the core dry patch and apply spatial effects inside your DAW.
- Decide on envelope ownership. You have two options for filter and amplitude envelopes: capture the patch completely open and let the software sampler handle envelopes, or capture the full hardware envelope shape. If the synth's filter envelopes have a distinct non-linear curve, capture the full decay and sustain stage. If you just want the raw oscillator tone, bypass the hardware filter completely.
- Gain staging. Analog synths exhibit varying output levels across different frequency ranges. Set your interface preamps to leave at least 6 to 8 dBFS of headroom on the loudest note. Digital clipping during a sampling session ruins the entire set.
Capture Protocol: Intervals, Velocity, and Round Robins
Sampling efficiency comes down to balancing recording time against sonic transparency. The three variables you must control are note spacing, velocity mapping, and round-robin count.
       [Hardware Synth Output]
                 │
                 ▼
       [Preamps / Converters] (-6dBFS Peak)
                 │
  ┌──────────────┴──────────────┐
  ▼                             ▼
[Static Tone Path]           [Dynamic Filter Path]
  │                             │
  ├─ 1 Velocity Layer           ├─ 3 to 4 Velocity Layers
  ├─ Semitone Intervals         ├─ Minor 3rd Intervals
  └─ 3 Round Robins             └─ 2 Round Robins
Note Spacing
Pitch-shifting a single sample across more than three semitones introduces keyzone artifacts. Transposing a sample upward shortens its natural LFO speed and attack times, while transposing downward creates a sluggish, muffled response. Sampling every semitone yields the most accurate representation, especially on synths where filter tracking or oscillator character changes per key. If storage space or session time is limited, sample every minor third (three semitones) and let the sampler pitch-shift the gaps.
Velocity Layers
Pure analog synths usually do not feature velocity-sensitive keybeds unless mapped via CV or MIDI matrix. If your patch relies on velocity modulation—such as note hard-hardness opening the filter cutoff—capture three to four distinct velocity tiers (for instance, MIDI values 32, 64, 96, and 127). If the synth patch is static, capture a single layer at maximum velocity and use your sampler’s internal VCF and VCA to map velocity control.
Round Robins
Analog synths are never truly static. Free-running oscillators, drifting LFOs, and subtle power supply fluctuations ensure that two consecutive key presses never sound identical. If you sample a single note and repeat it rapidly in a DAW sequence, you get a sterile "machine-gun" effect. Recording three to four round robins—identical takes of the same note—allows the software sampler to cycle through variations on every trigger, preserving natural analog motion.
| Sampling Strategy | Note Interval | Velocity Layers | Round Robins | Best Use Case | Capture Time Per Patch |
|---|---|---|---|---|---|
| Quick Recall | Minor 3rds (3 semitones) | 1 layer | 1 (No RR) | Fast arrangement, background pads | 5–10 minutes |
| Poly-Conversion | Every semitone | 1 layer | 2 to 3 RR | Converting mono synths to polyphonic pads/leads | 20–30 minutes |
| Dynamic Bass/Keys | Every semitone | 3 to 4 layers | 2 to 3 RR | Velocity-sensitive basslines, main lead sounds | 45–60 minutes |
Trimming, Looping, and Mapping
Once the audio files are recorded, the work shifts to post-processing. Modern auto-samplers in DAWs like Logic Pro, Bitwig, or Steinberg HALion can automate file cutting and pitch detection, but manual inspection is usually required for clean results.
Trimming Zero-Crossings
Trim the start of every sample as close to the transient as possible without clipping the initial attack. Always set start points at zero-crossings—points where the waveform crosses the center amplitude line—to eliminate low-frequency pops on note trigger.
Crossfade Looping
Sustained sounds require loop points so notes can hold infinitely without running out of sample tail. Setting loop points on analog patches with detuned dual oscillators is notoriously tricky because the phase relationship between the two waveforms changes constantly.
To create smooth loops:
- Select a loop region toward the end of the sample where the tone has stabilized.
- Use equal-power crossfades over a duration of 500 to 1500 milliseconds.
- Align the loop start and end points on matching phase slopes (rising waveform to rising waveform).
Metadata Tagging
Name your files logically before importing them into your software sampler. A standard convention is: Instrument_Patch_Note_Velocity_RR.wav (e.g., Pro3_SubBass_C2_v127_rr1.wav). Most modern mapping engines read key names and velocity tags directly from file names, automatically assigning them to the correct keyzones.
Integrating into the Workflow
Store your custom instruments in a lightweight open format like Decent Sampler, or native formats like Kontakt, SFZ, or your DAW's built-in sampler. Save dry versions of your patches so you can process them later with modern channel strips, tape emulators, and pedal chains in the mix.
Sampling your hardware bridges the gap between analog timbre and modern software efficiency. Instead of leaving great patches behind when a track moves from tracking to mixing, a structured multisampling strategy turns your bench of hardware into a reliable, instantly recallable virtual archive.
Quick Answers
Should I record raw dry waves or full filtered patches?
If you want to tweak the filter cutoff dynamically inside your DAW, record dry oscillators with the hardware filter completely open. If the synth's analog filter provides a unique distortion or resonance slope that software cannot duplicate, capture the sound with the filter engaged.
How do I stop detuned oscillators from beating strangely inside a sampler loop?
Lengthy crossfades can cause phase cancellation when two detuned waves overlap during a loop cycle. To fix this, increase the sample length so the loop point occurs over a longer period, or use a seamless forward-backward (ping-pong) loop mode on a single stable section of the audio file.
Are automated auto-sampling plugins worth using?
Yes. Modern auto-sampling tools inside major DAWs send MIDI notes out to your synth, record the audio, set root notes, and crop file edges automatically. They save huge amounts of time, though you will still need to check loop crossfades and start points manually on complex patches.
How many round robins are necessary for fast bass lines?
Two to three round robins are usually enough to remove the machine-gun effect on fast, repeating basslines. For percussive or highly resonant patches where attack variations are obvious, aim for four round robins per key layer.