 SAMPLED
Small studio signal flow for a hardware synth rig
Mixers, interfaces, and monitoring choices that scale from one synth to six.
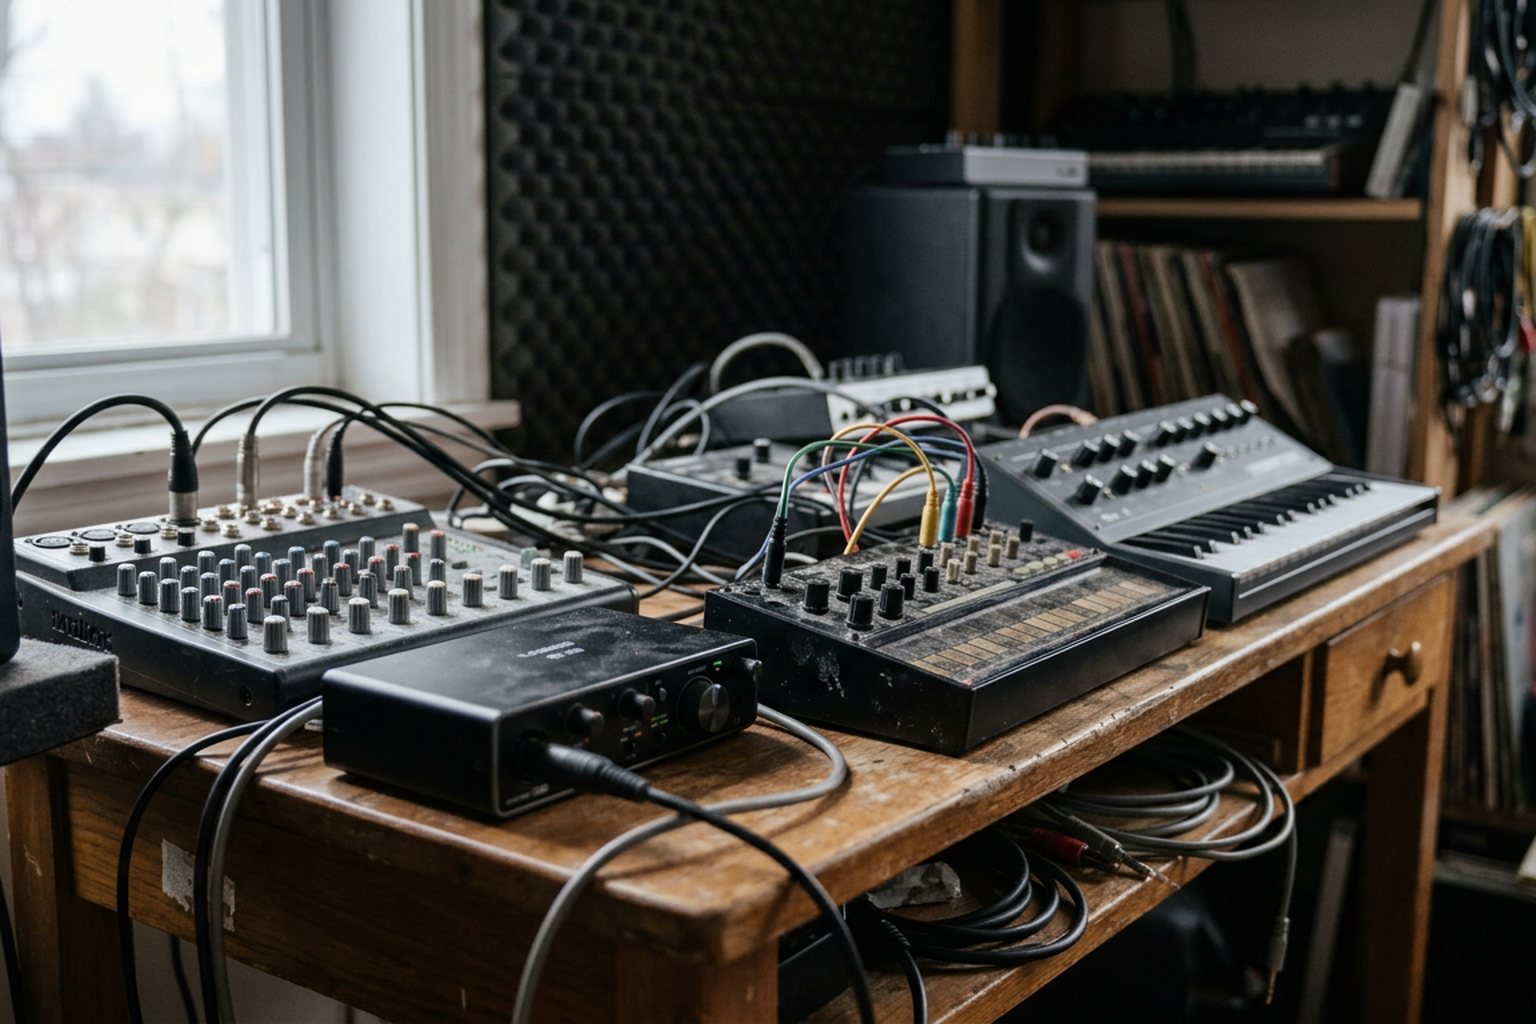
Connecting a single synthesizer to a computer is trivial: plug two quarter-inch cables into an audio interface, set the gain, and open your DAW. The system breaks down the moment a second synth, a stereo drum machine, and a rack module enter the room. Suddenly, you spend more time crawling under your desk swapping cables than actually tracking audio.
Designing a clean, reliable signal flow for a hardware synth rig is about removing friction. Whether you run a tiny desktop setup or a multi-room collection, your routing choices determine how fast you can turn a patch idea into a finished recording.
Stage 1: Direct Interface Connections (1 to 2 Synths)
When your rig consists of one or two instruments, keeping the signal chain as short as possible yields the cleanest sound. The standard approach relies on a desktop audio interface with two to four analog inputs, such as a Focusrite Scarlett, Universal Audio Volt, or MOTU M-series unit.
Understanding signal types prevents level mismatches at this stage. Mono analog synths, such as a Moog Subsequent 37 or a Korg MS-20 Mini, output a single mono line-level signal over an unbalanced 1/4-inch TS (Tip-Sleeve) cable. Stereo digital or polyphonic analog synths, like a Sequential Prophet-6 or Roland JU-06A, require two TS cables mapped to a stereo pair of inputs.
Line Level vs. Instrument Level
A common mistake is plugging synthesizers into high-impedance (Hi-Z) instrument inputs intended for electric guitars. Synth outputs are line-level, which provides a significantly hotter voltage than a guitar pickup. Plugging a hot synth output into an active Hi-Z preamp creates unwanted distortion and limits your gain headroom. Switch your interface inputs to "Line" mode and keep input gains turned down near minimum, raising them only if the synth's master volume cannot feed a solid signal.
For a two-synth setup, routing looks straightforward:
- Synth 1 (Mono bass synth) -> Input 1 (Line level, mono)
- Synth 2 (Stereo poly synth) -> Inputs 2 and 3 (Line level, stereo panned)
This setup allows you to record both instruments simultaneously on separate DAW tracks with zero routing complexity.
Stage 2: Submixers and Auxiliary Sends (3 to 4 Synths)
Once your collection expands to three or four instruments, discrete interface inputs become expensive. If your interface only has four inputs, adding a stereo drum machine and two stereo synthesizers already exceeds your input capacity. Here, you must choose between committing to a stereo mixdown before reaching the computer or upgrading your conversion hardware.
Desktop Analog Mixers
An analog compact mixer, like a Mackie VLZ4 series or Soundcraft EFX unit, acts as a centralized traffic controller. All your synths plug into the channel inputs of the mixer, and the main stereo output feeds inputs 1 and 2 of your audio interface.
The advantages are immediate:
- You can turn on your equipment and jam without booting up a computer.
- Hardware knobs provide physical volume, EQ, and panning controls for every synth.
- Auxiliary (Aux) sends allow you to route any synth through external effects processors or guitar pedal boards.
To integrate stereo effects pedals—like a Strymon BigSky or Eventide H9—into an analog mixer:
- Connect Aux Send 1 (or 1 and 2 for stereo) to the pedal inputs.
- Connect the output of the pedal back into a dedicated stereo Aux Return or an open pair of channel inputs.
- Turn the Aux Send knob on any synth channel to feed its audio through the effect processor independently.
The trade-off of this approach is tracking flexibility. Because all instruments sum inside the mixer, you cannot record individual synths to separate DAW tracks in a single pass. You must record your arrangement in real time or solo each synth and record them one by one.
Rackmount Line Mixers
If desk space is limited and you do not need dedicated EQ knobs on every channel, a 1U rackmount line mixer (such as a Samson SM10) offers high channel density. These units take up to ten stereo inputs and sum them down to a clean stereo mix, keeping your workspace clear while leaving all your synths permanently connected.
Stage 3: Multi-Input Interfaces and Patchbays (5 to 6 Synths)
When working with six synths, multitracking becomes a priority. You want to sequence all six instruments via MIDI and record their audio into your DAW onto separate tracks simultaneously. This requires expanding your converter channel count and adding a patchbay.
Expanding via ADAT
Instead of buying a massive, costly main interface, look for an 8-channel interface that features an optical ADAT input port. By connecting an 8-channel ADAT preamplifier and analog-to-digital converter (such as a Behringer ADA8200 or Audient ASP series) via a single Toslink optical cable, you instantly expand your interface from eight inputs to sixteen.
This configuration gives you enough discrete digital inputs to connect every synth output directly to its own channel in your DAW.
Integrating a Patchbay
Plugging eight to twelve synthesizer outputs directly into the rear of a rack unit makes re-routing signal paths difficult. A 48-point TRS patchbay solves this by bringing every input and output to an accessible front panel.
To set up a patchbay efficiently, use a half-normalled configuration:
- Top Rear Jacks: Connected to synth outputs and effect pedal outputs.
- Bottom Rear Jacks: Connected to interface line inputs and effect pedal inputs.
In a half-normalled setup, the signal flows automatically from the top jack (synth) to the bottom jack (interface input) inside the patchbay without any front patch cables inserted. This means your core setup is always wired and ready to record.
When you want to alter the signal path—for example, sending Synth 3 through an outboard compressor before it reaches the interface—you simply plug a short patch cable into the front jack of Synth 3. Inserting the cable breaks the internal link and routes the sound wherever you plug the other end of the patch cable.
Routing Architecture Comparison
| Routing Method | Channel Capacity | Direct DAW Multitracking | Outboard FX Integration | Ideal Rig Size |
|---|---|---|---|---|
| Direct to Interface | 2 to 4 inputs | Yes (all channels discrete) | Difficult (requires extra I/O) | 1 to 2 Synths |
| Analog Desktop Mixer | 8 to 16 inputs | No (summed to stereo output) | Excellent (via Aux Sends/Returns) | 3 to 4 Synths (Live Jams) |
| Rack Line Mixer | 8 to 10 stereo inputs | No (summed to stereo output) | Moderate (limited bus options) | 3 to 5 Synths (Compact Space) |
| ADAT Expansion + Patchbay | 16+ inputs | Yes (all channels discrete) | Exceptional (instant routing) | 5 to 6+ Synths (Production Studio) |
Gain Staging and Monitoring Essentials
Proper signal flow fails if gain staging is unmanaged. Synths produce wide dynamic swings depending on patch design, filter resonance, and velocity modulation. Uncompressed analog oscillators can easily spike input converters, causing harsh digital clipping.
Aim for nominal digital levels around -18 dBFS to -12 dBFS on your DAW input meters. This provides enough headroom for unexpected peak bursts without introducing noise floor issues from your interface's line inputs.
For monitoring, route the main stereo outputs of your audio interface directly to a pair of active studio monitors, such as Yamaha HS series or ADAM Audio T-series speakers. If you use a mixer-centric workflow, feed your studio monitors from the mixer's Control Room outputs. This lets you switch between monitoring your DAW's master output and listening to the raw hardware mix with zero computer latency.
Quick answers
Should I use balanced TRS cables for synths with unbalanced TS outputs?
Using a balanced TRS cable on an unbalanced TS synth output will not harm the equipment, but it will not make the signal balanced either. The connection remains unbalanced. Use standard TS instrument cables for short runs under 10 feet. If you suffer from ground loop hum caused by USB connections and unbalanced audio lines, use a stereo passive Direct Injection (DI) box or an line isolator between the synth and your interface or mixer.
What is the difference between normalled and half-normalled on a patchbay?
In a half-normalled patchbay, inserting a patch cable into the top front jack taps into the signal without breaking the internal connection to the bottom jack, allowing you to split the signal to two destinations. Inserting a cable into the bottom front jack breaks the internal link entirely. In a fully normalled patchbay, inserting a cable into either the top or bottom front jack breaks the internal connection instantly.
Do I need reamp boxes to run hardware synths into guitar pedals?
Many modern guitar pedals accept line-level signals, but vintage or simple pedal circuits expect lower instrument levels and high impedance. If your synth signal causes a pedal to distort excessively or sound muddy, run the synth output into a reamp box first. The reamp box steps down the hot line-level signal to instrument level and matches the impedance expected by guitar pedals.
Is an analog mixer or an ADAT setup better for live hardware jams?
An analog mixer is superior for live hardware jamming. It offers physical tactile control over volume faders, hardware EQs, mute buttons, and send knobs without needing a computer running. An ADAT and patchbay system is better optimized for studio recording environments where individual track isolation and DAW recall take priority over hands-on mixing performance.
Scale your signal path logically rather than buying gear for a rig you hope to own years from now. If you have three synths today, a simple 4-input interface or a small line mixer will keep you making music immediately. Add ADAT expansion and a patchbay only when cable swapping directly slows down your production workflow.