 SAMPLED
Hybrid setups: analog voices, digital brains
Sequencing hardware from a DAW without losing the immediacy that made you buy hardware.
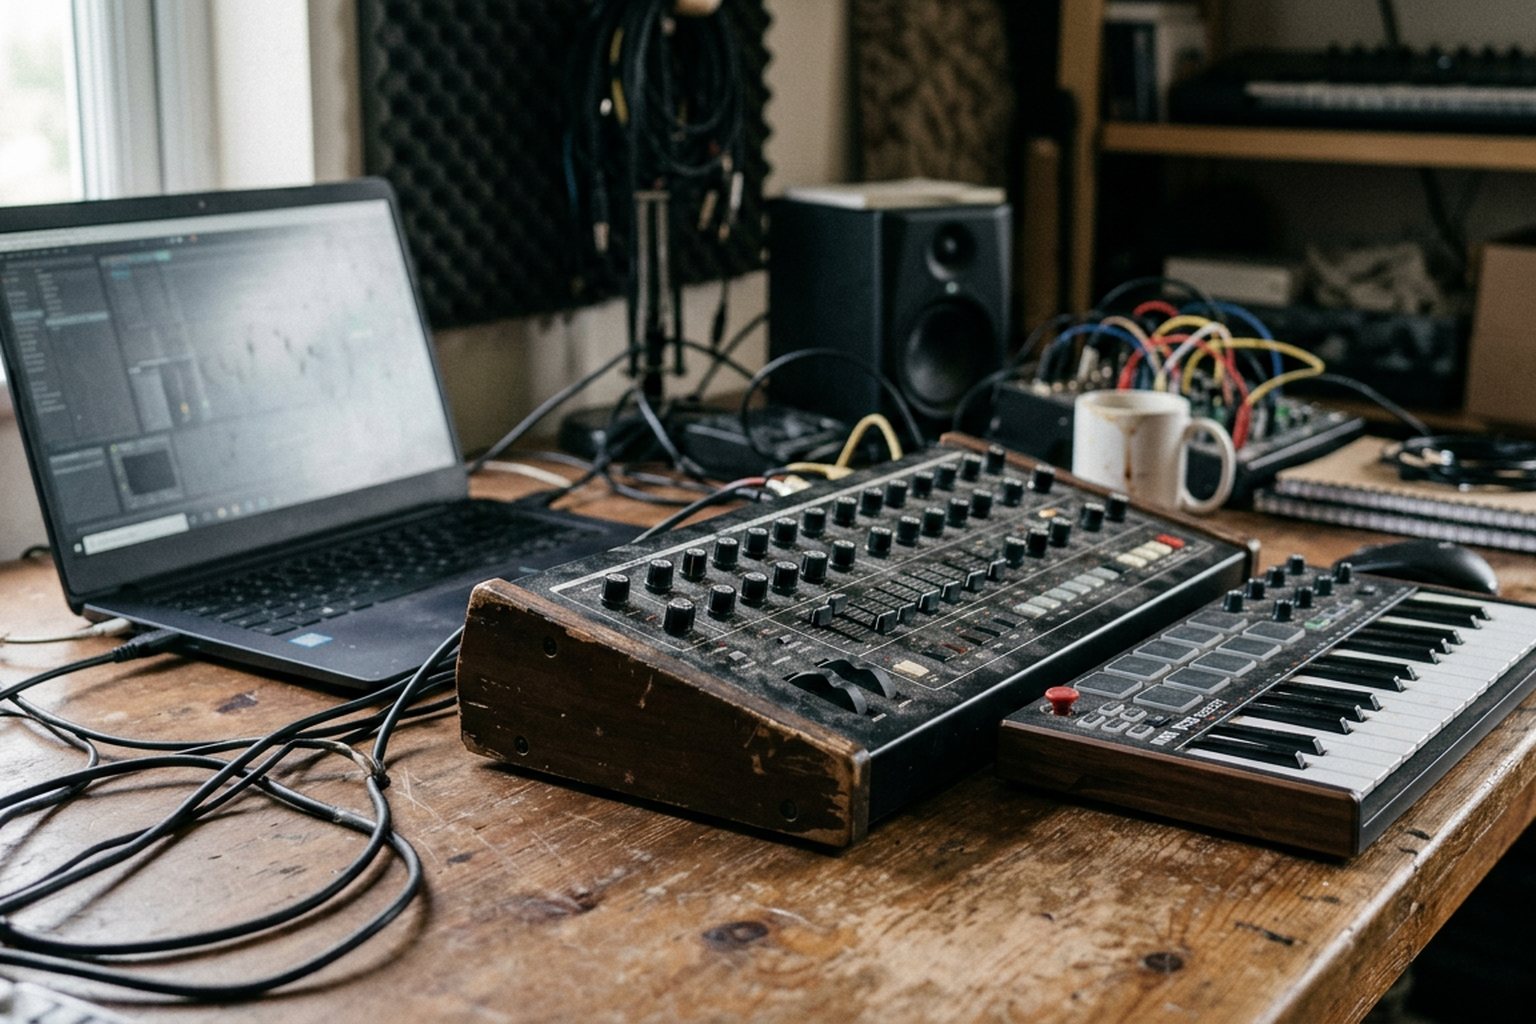
The promise of a hybrid setup is straightforward: the infinite recall, precise editing, and arrangement power of a modern DAW paired with the raw tone and physical feedback of analog hardware. In practice, however, bridging these two environments often introduces digital latency, MIDI timing jitter, and an irritating reliance on the computer mouse. Building a reliable hybrid studio isn't about collecting extra cables; it requires treating the computer as a tight, invisible clock and utility brain while leaving hands-on sound design where it belongs—on physical control panels.
Taming the Clock: Eliminating Jitter and Drift
If your hardware sequences feel loose or phase-smeared when recorded back into your DAW, the culprit is usually your clock source. USB MIDI is inherently prone to jitter because computer operating systems prioritize USB data streams in bursts rather than strictly timed intervals. A sequence sent over standard USB MIDI can suffer from several milliseconds of unpredictable timing variance from beat to beat. For percussive analog voices like a Moog DFAM or a snappy synth bass from a Roland SH-01A, this variance destroys the tightness of a mix.
Five-pin DIN MIDI routed through a dedicated multi-port MIDI interface offers better stability than direct USB connections, but it still relies on serial data transmission. When a DAW sends clock, note, and continuous controller data down a single MIDI line, the system bogs down, creating perceptible lag.
The cleanest solution for syncing hardware to software is sample-accurate audio-based clocking. By using a DC-coupled audio interface or dedicated utility plugins—such as Ableton's CV Tools or Expert Sleepers Silent Way—the DAW sends control voltages or high-amplitude audio pulses directly out of an audio output into the clock or gate inputs of your hardware. Because audio drivers receive absolute processing priority in digital audio workstations, audio-rate clock pulses arrive with virtually zero jitter. If your synth collection includes Eurorack modules or modern desktop semi-modulars equipped with patch points, driving sync via audio pulses makes the computer feel like an extension of the hardware's internal clock circuit rather than an erratic external controller.
Routing Architecture: MIDI Control Without Mouse Fatigue
Once sync is stabilized, the next hurdle is establishing a bi-directional workflow that doesn't force you to stare at a monitor while adjusting filters and envelopes. The most efficient hybrid setups treat hardware instruments as self-contained audio-and-MIDI objects inside the DAW session. Modern software utilities—like Ableton's External Instrument device or Logic Pro's External I/O plugin—allow you to route outgoing MIDI data and incoming audio monitoring through a single channel strip, automatically applying latency compensation to align the incoming audio stream with your project grid.
To maintain immediacy, assign hardware parameter controls intentionally rather than attempting to mirror every knob on screen. Let the DAW handle complex automation curves, polyphonic voice distribution, and long-form sequence arrangements—tasks that hardware sequencers struggle with over a four-minute track. Leave real-time parameter tweaking, filter sweeps, and envelope adjustments on the hardware front panel.
For synthesizers with extensive MIDI implementation, like the Sequential Prophet-6 or Oberheim OB-6, map only primary macro parameters (such as filter cutoff, resonance, or amp decay) to your DAW's automation lanes. By keeping parameter assignments sparse, you avoid bandwidth congestion on the MIDI line and prevent the static, robotic feel that comes from over-automating analog circuits. Let the analog oscillators drift naturally, and use the DAW purely to send high-level movement commands.
Choosing the Right Interconnect Method
Different hardware setups require different balance points between ease of use, rock-solid timing, and parameter control. The following matrix outlines the primary methods for integrating hardware voices into a software-driven sequencer.
| Protocol | Timing Stability | Parameter Control | Setup Complexity | Ideal Use Case |
|---|---|---|---|---|
| USB MIDI | Low to Moderate | High (Notes, CC, SysEx) | Very Low | Quick keyboard control and polyphonic synth sequencing |
| 5-Pin DIN MIDI | Moderate to High | High (Notes, CC, SysEx) | Low | Multi-synth desktop setups linked through a dedicated MIDI hub |
| DC-Coupled CV/Gate | Sample-Accurate | High (Voltage Modulation) | Moderate | Modular systems, semi-modular synthesizers, and vintage analog gear |
| Audio Click Sync | Sample-Accurate | None (Clock/Sync Only) | Low | Syncing drum machines, analog sequencers, and grooveboxes |
Monitoring Strategies and the Discipline of Printing Audio
One of the quickest ways to ruin the flow of a hardware session is monitoring your synths through a heavy DAW project buffer. If your audio buffer sits high to accommodate dozens of software plugins, hitting a key on a synth yields an agonizing delay before the sound reaches your studio monitors.
To maintain low latency while tracking, split your monitoring pathway. Route the audio outputs of your hardware synths directly to a hardware mixer or an audio interface featuring zero-latency DSP routing. Monitor the analog voices directly at the input source while sending MIDI from the DAW. This ensures that when you play a physical keyboard or trigger a pad, the acoustic feedback is instantaneous. The DAW records the incoming audio signal in the background, offset by its internal latency compensation settings.
Finally, embrace the discipline of committing audio early. Leaving half a dozen hardware synths running live over MIDI while working on arrangement creates friction: patch settings get bumped, recall becomes a headache, and you spend more time managing signal chains than finishing songs. Write your sequence, automate your macro movements, tweak the knobs on the physical synth panel until the sound sits right in the mix, and then record the pass as a dedicated audio track. Once the audio is printed, mute or power down the hardware. Treating analog hardware as a tracking instrument rather than a live-perpetual plugin preserves both processor headroom and creative momentum.
Quick Answers
Do I need a DC-coupled interface to sequence analog synths from a DAW?
No. Standard audio interfaces work fine if you are sending MIDI notes and clock over traditional 5-pin DIN or USB cables. A DC-coupled interface is only required if you want to output direct control voltages (CV) or pitch/gate signals directly from utility plugins into analog synth patch points without using a hardware MIDI-to-CV converter box.
Why does my hardware synth drift out of time during long DAW playback loops?
This is usually caused by USB bus congestion or software-based MIDI clock jitter. Computers treat USB MIDI packets with lower priority compared to audio streams. To fix this, sync your hardware using an audio-rate click pulse generated from your interface, or route your MIDI clock through a dedicated hardware MIDI interface rather than plugging synths directly into an unpowered USB hub.
Should I record my hardware synths as audio immediately or keep MIDI active?
Keep MIDI active only during the composition and sound design phase. Once a section's melody, bassline, or timbre is established, print the audio into your DAW. Printing forces you to commit to a sound, eliminates parameter recall issues, and frees up hardware and MIDI bandwidth for other elements in your mix.
Start updating your studio layout by isolating your clock source first. Swap out standard USB MIDI clock for an audio-generated sync pulse or a dedicated MIDI interface, route your synths into an External Instrument utility device within your software, and monitor input signals directly through your interface software to kill buffer delay. Once your timing is locked and latency is imperceptible, treat your analog gear like session musicians: sequence the parts, dial in the tone on the front panel, print the audio stems, and move forward with the mix.