 SAMPLED
How Do You Make Your Own CDs? A Step-by-Step Guide for Musicians
From mastering and burning to printing labels and packaging, here is how to make CDs of your music at home — and when to order a pressing run instead.
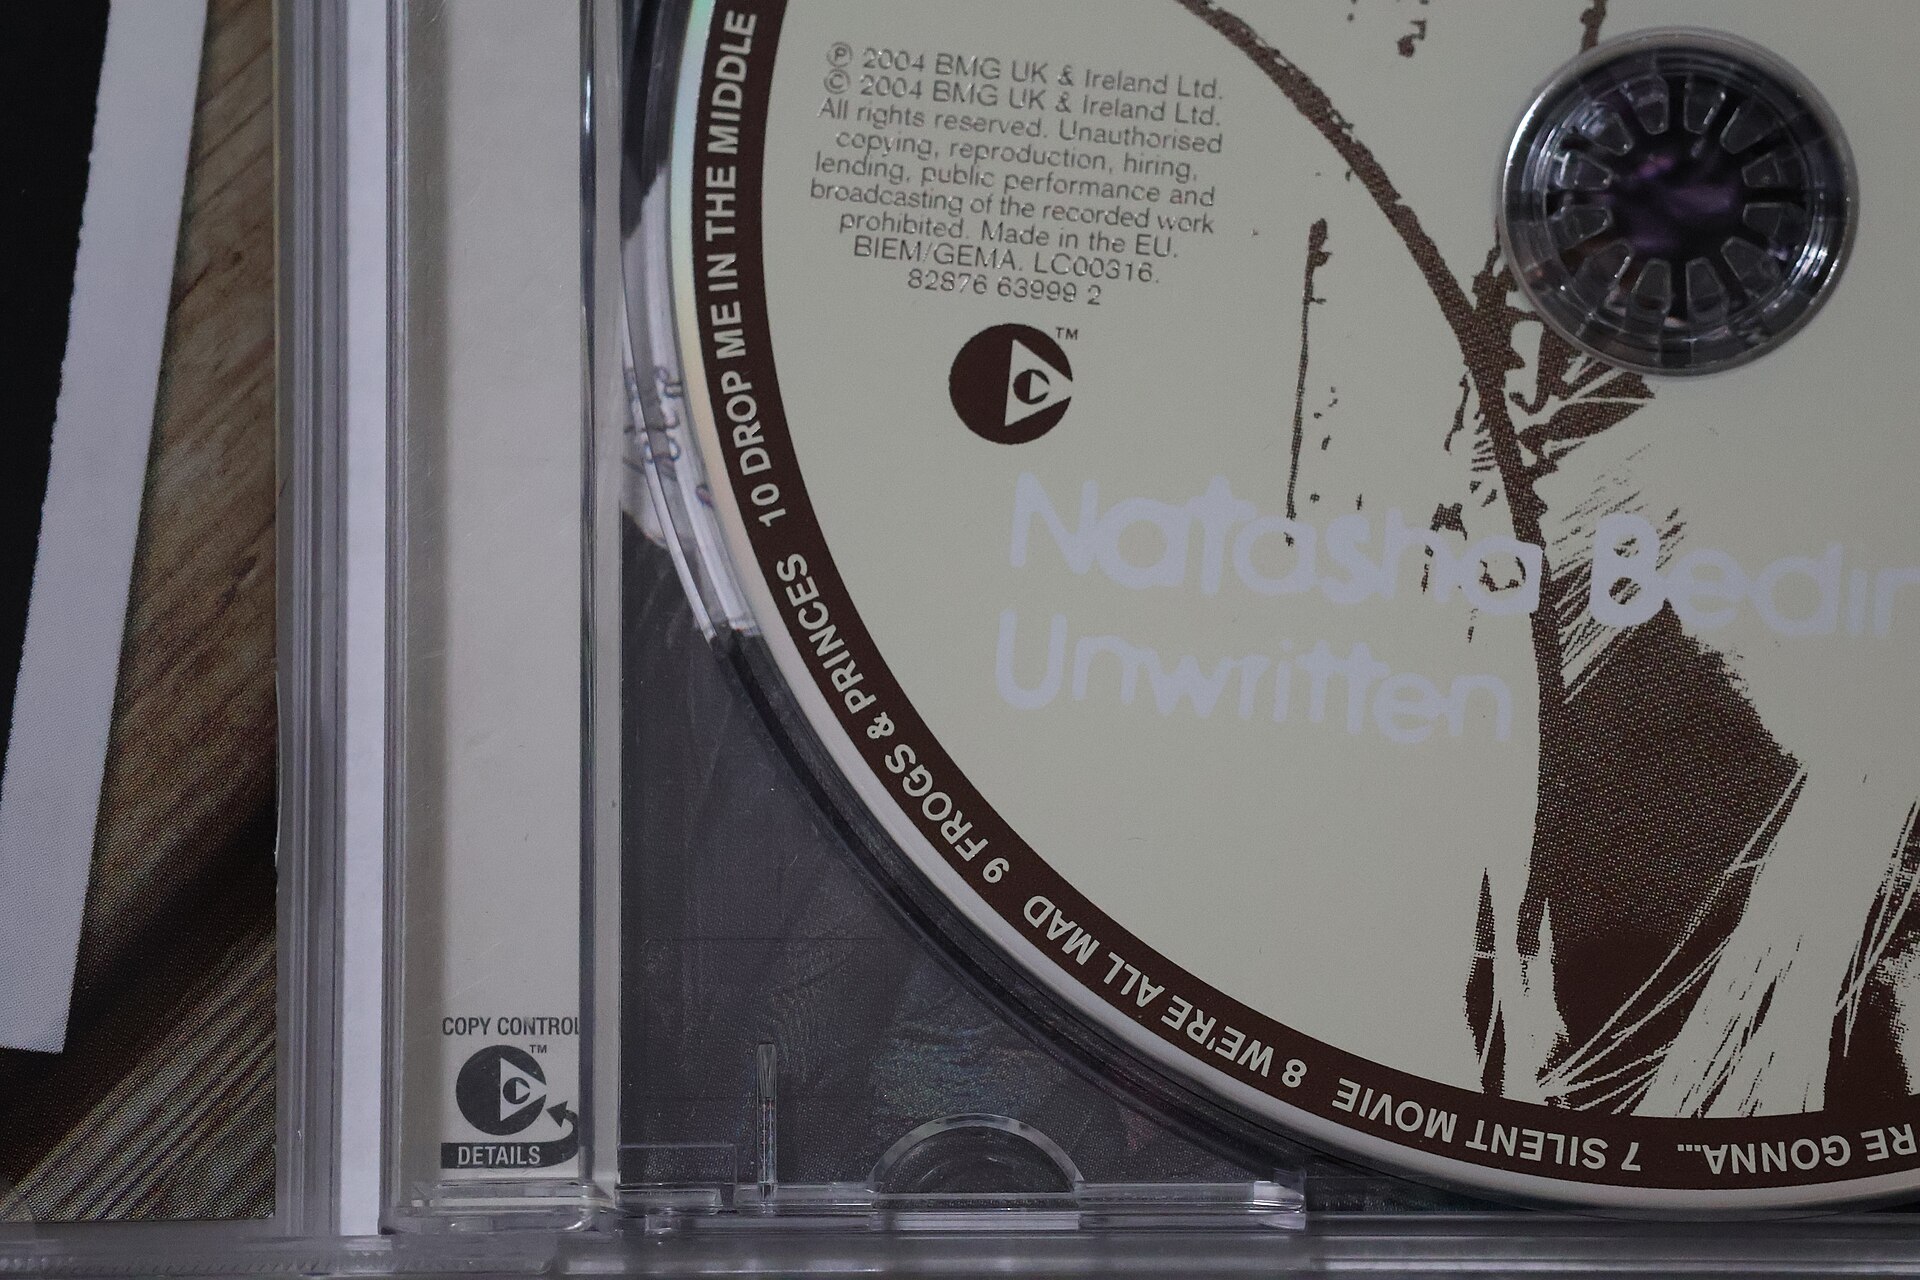
CDs are cheap to make, easy to sell at shows, and fans still buy them as a keepsake. You can make a small batch at home in an afternoon, or order a few hundred professional copies. This guide walks through both.
What do you need to make CDs at home?
- Finished, mastered tracks saved as WAV files at 16-bit / 44.1 kHz (the audio CD standard).
- A CD burner. Most laptops no longer have one, so an inexpensive external USB drive works fine. See our Amicool external CD burner review.
- Blank CD-R discs. Buy name brands (Verbatim, Taiyo Yuden/JVC). Use CD-R, not CD-RW — many car and home players won't read rewritable discs.
- Burning software. Apple Music (Mac), Windows Media Player, or free tools like ImgBurn or CDBurnerXP on Windows.
- Labels and cases. Printable disc labels or inkjet-printable discs, plus jewel cases, slim cases, or cardboard sleeves.
Step 1: Get your audio ready
A CD holds about 74–80 minutes of audio and up to 99 tracks. Before you burn, make sure each song is mastered so volumes match from track to track. If you're unsure, read what mastering is and how to prepare a mix for mastering.
Export every song as a 16-bit, 44.1 kHz WAV. Burning from MP3s works, but you lose quality you can't get back.
Step 2: Put the tracks in order
Decide your running order and gaps between songs. Most software adds a two-second gap by default; set it to zero for albums with songs that flow together.
If you want track titles to show up on car stereos, turn on CD-Text in your burning software. Also have your ISRC codes ready if you've registered them — our metadata guide explains how.
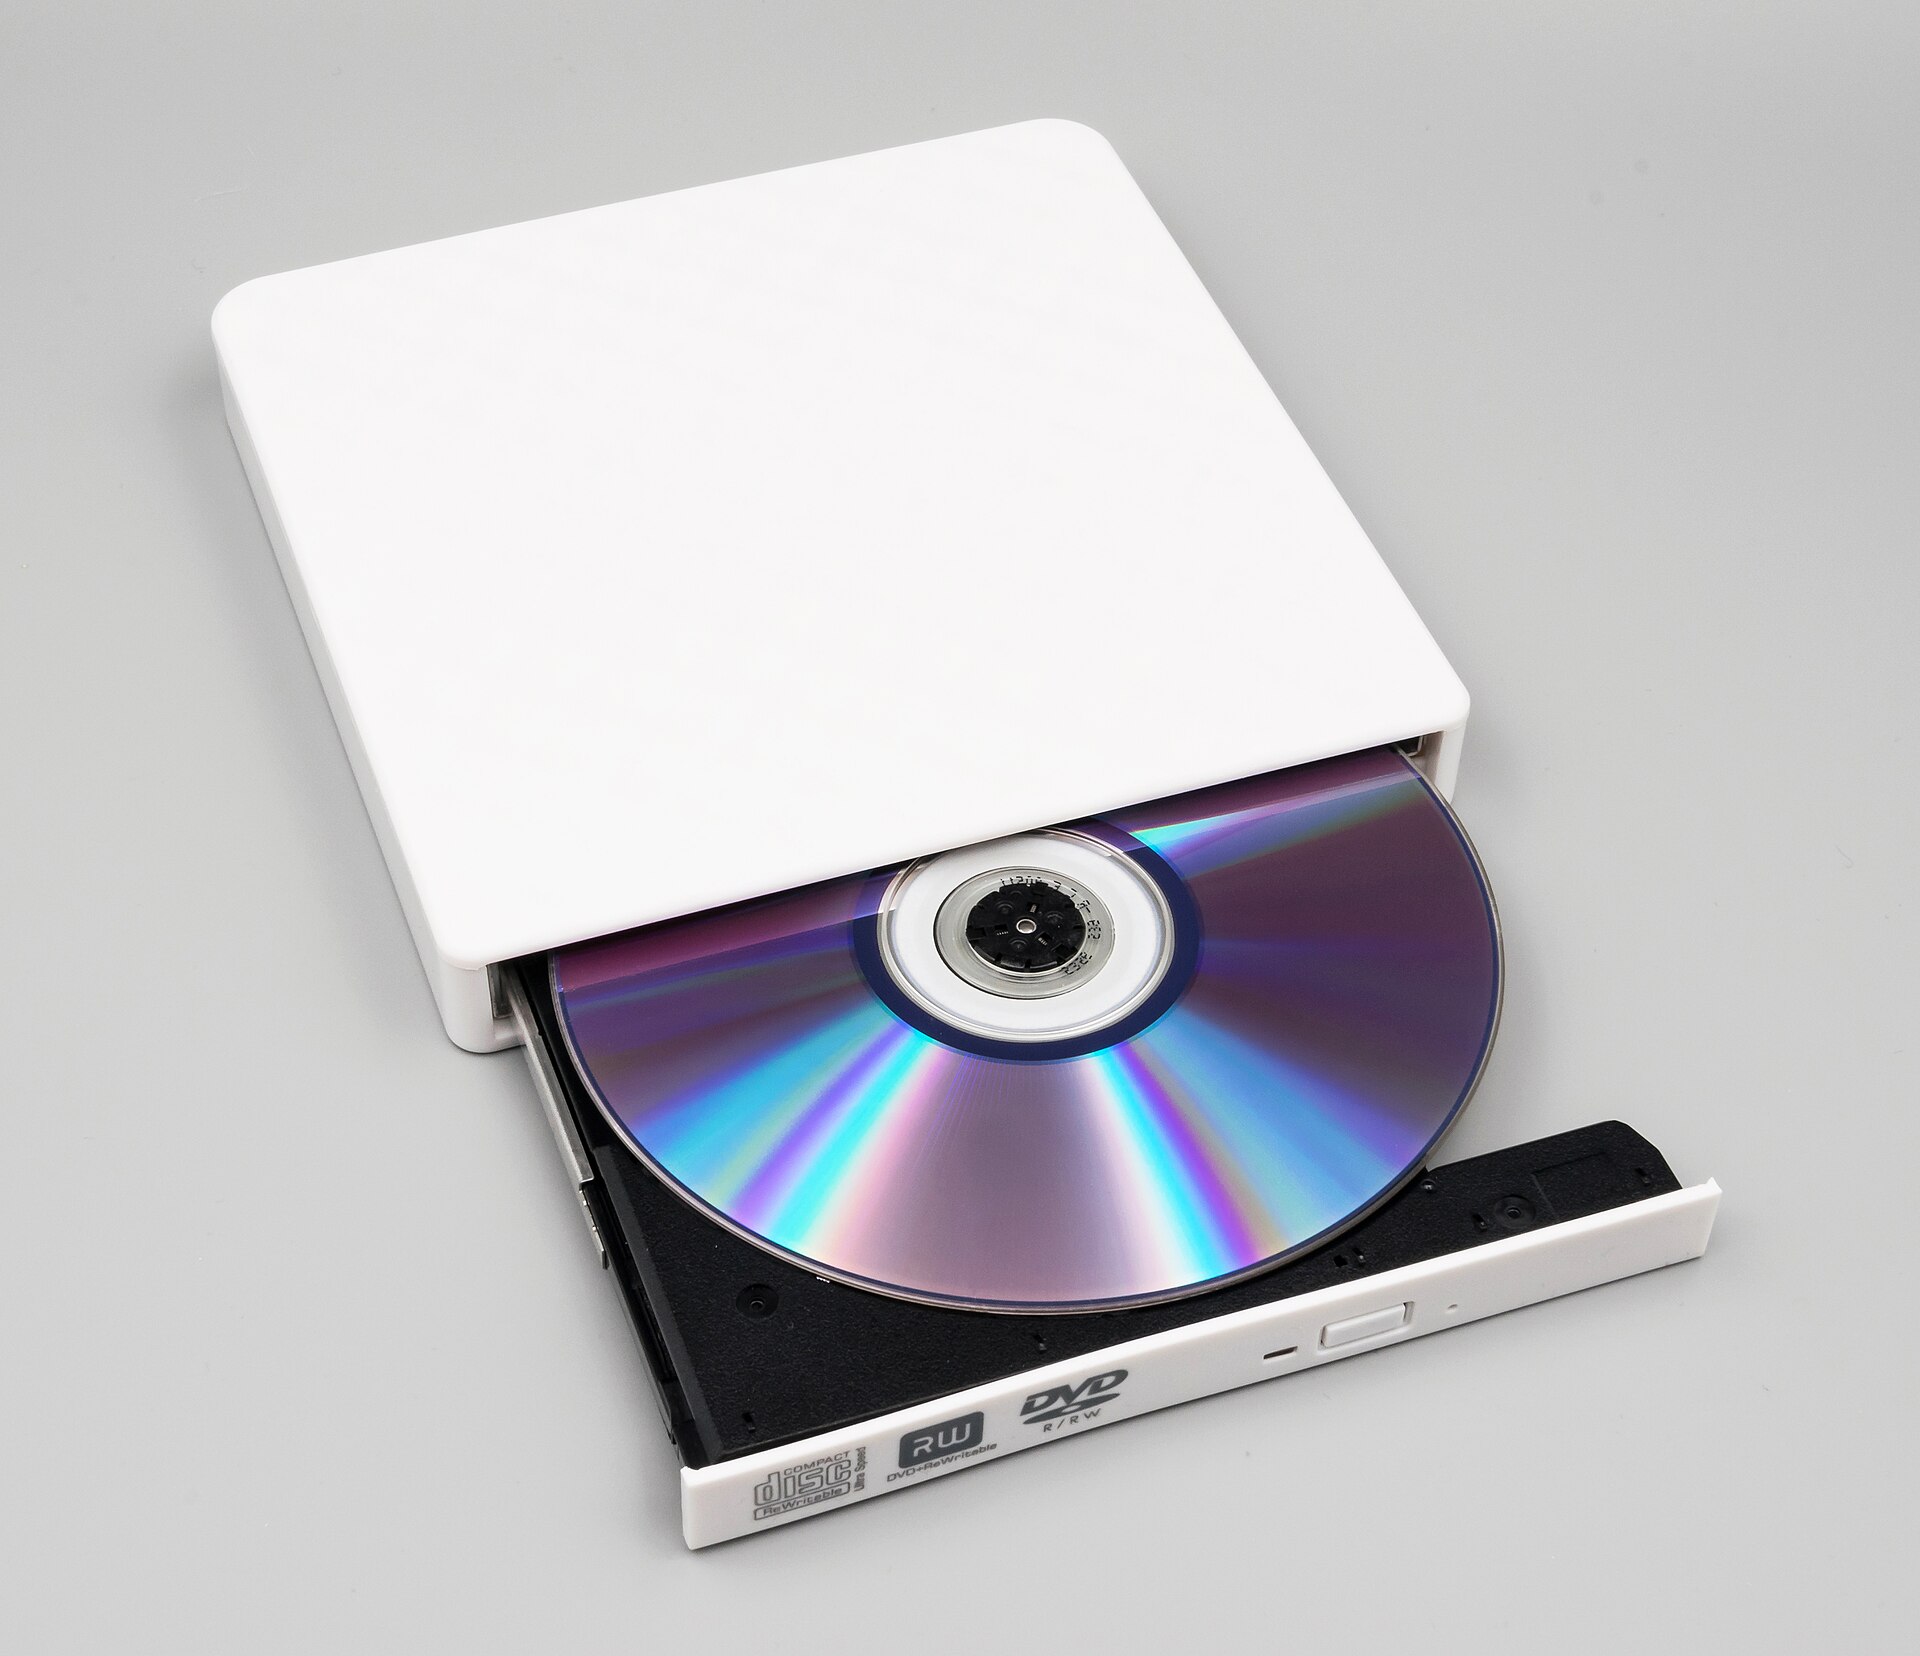 External burner. Photo: Jacek Halicki, CC BY-SA 4.0, via Wikimedia Commons (opens in a new tab).
Step 3: Burn the disc
- Insert a blank CD-R.
- In your software, choose Audio CD (not "Data CD" or "MP3 CD").
- Set burn speed low — 8x to 16x. Slower burns produce fewer playback errors.
- Burn, then test the disc in a regular CD player and a car stereo before making more.
Once one disc plays perfectly, keep it as your master and repeat. For bigger batches, a multi-drive "duplicator tower" can burn several discs at once.
Step 4: Design and print the label
Skip paper sticker labels if you can — they can peel or throw a disc off balance in a fast drive. Better options:
- Inkjet-printable CD-Rs with a white printable surface, used with a printer that has a disc tray.
- A Sharpie-style marker for a handmade, limited-run look.
- Thermal disc printers if you make CDs often.
Design artwork at 300 DPI. A standard disc is 120 mm across with a 15 mm center hole. Our graphic design guide for musicians covers layout basics.
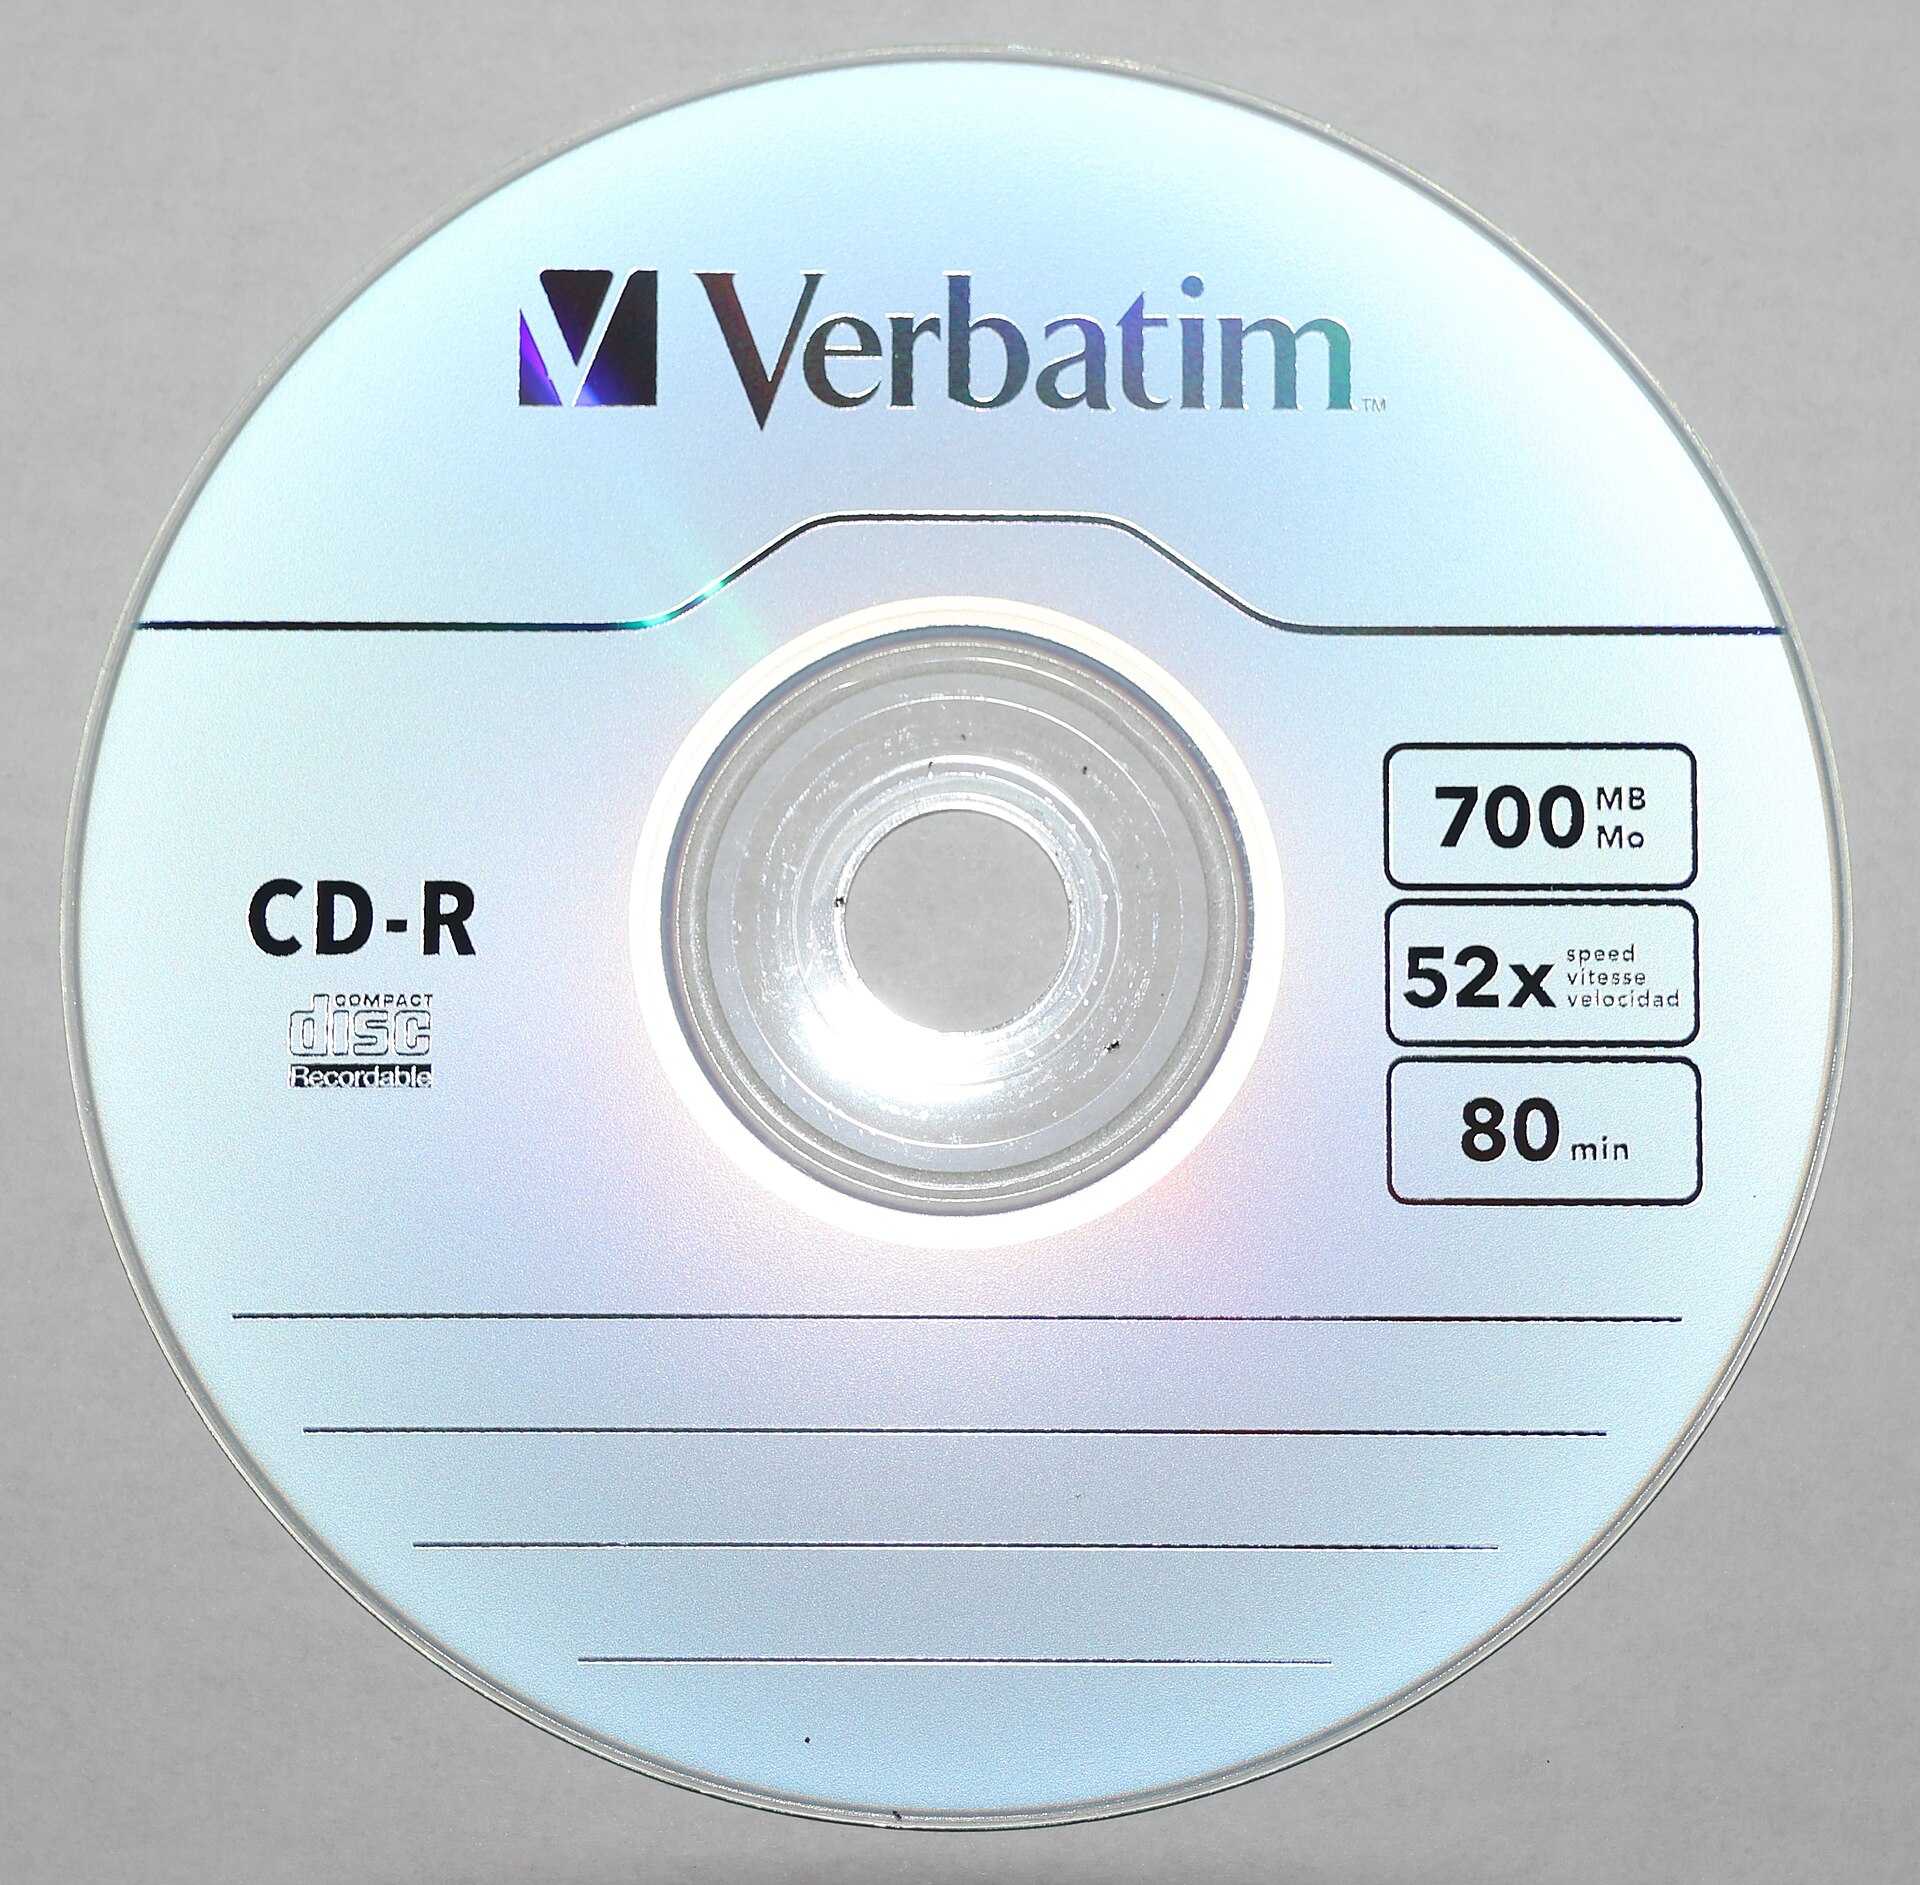 Blank CD-R. Photo: DiscoA340, CC0, via Wikimedia Commons (opens in a new tab).
Where can you buy CD labels and disc markers?
Printable CD labels
- Avery CD/DVD labels — the most common sticker labels, with free templates in Avery Design & Print. Sold at Avery.com (opens in a new tab), Staples, Office Depot and Walmart.
- Neato CD labels — includes a label applicator that centers the sticker so the disc stays balanced. Available at Neato (opens in a new tab) and on Amazon.
- Printable CD-Rs — Verbatim and JVC/Taiyo Yuden make white inkjet-printable discs, so you print right on the disc with no sticker. Look for them at Amazon (opens in a new tab), B&H Photo and Best Buy.
Markers to draw on discs
- Sharpie CD/DVD markers or regular fine-point Sharpies — easy to find at Target, Walmart, Staples and drugstores.
- Staedtler Lumocolor permanent markers — fine tips for neat writing, sold at office and art stores.
- Posca paint markers — bright opaque colors for hand-decorated, one-of-a-kind discs, sold at Michaels, Blick and other art supply stores.
Write only on the top (label) side, use soft-tip markers, and avoid ballpoint pens, which can press through and damage the data layer.
Step 5: Package it
- Jewel case: classic look, room for a booklet (front insert is 120 × 120 mm) and back tray card.
- Slim case: thinner and cheaper to mail.
- Cardboard sleeve or wallet: eco-friendly, easy to hand-stamp, great for merch tables.
Shrink-wrapping isn't required, but it makes a disc look store-ready.
Should you burn CDs or get them pressed?
| Burned at home (CD-R) | Professionally replicated | |
|---|---|---|
| Best for | 1–100 copies | 300+ copies |
| Upfront cost | Low | Higher, cheaper per disc |
| Turnaround | Same day | Usually 1–3 weeks |
| Durability | Good if stored well | Longest lasting |
| Looks retail-ready | Depends on your printing | Yes |
Replication presses discs from a glass master, the same way store CDs are made. Many plants also offer short-run duplication for 50–300 copies. Shop around and always ask for a proof.
Legal basics before you sell
- Only press music you own or have licensed. Covers need a mechanical license in the US.
- Clear any samples first.
- Put a copyright line (© and ℗ with your name and year) on the packaging. See how to copyright your music.
Tips for selling your CDs
- Sell at shows alongside other merch you make yourself.
- Number and sign limited runs to make them collectible.
- Add a download code card so fans without a CD player still get the music.
- Bundle a CD with a shirt for a better deal.
Want more reasons fans are coming back to the format? Read why you should listen to more CDs.
The bottom line
To make your own CDs, export mastered 16-bit/44.1 kHz WAVs, burn them as an audio CD at a slow speed on quality CD-Rs, test the first disc, then print and package. Burn at home for small runs; order replication once you need a few hundred.