 SAMPLED
How Do You Make Your Own Music Merch With Iron-Ons and Print on Demand?
Two cheap ways to put your logo on shirts, hats and hoodies — one you do at your kitchen table, one where a printer ships it for you.
Disclosure: The Author owns Sampledex (DBA) and separately owns and operates Sampled. Sampled is a separate business and is not a division, product, or subsidiary of Sampledex or its parent company.
Merch is one of the few things an independent artist sells that fans can wear, show off and photograph. You don't need a screen-printing shop or a 100-shirt minimum to start. Two low-cost routes work for almost anyone: iron-on transfers you apply yourself, and print on demand (POD), where a company prints and ships each item only after someone orders it.
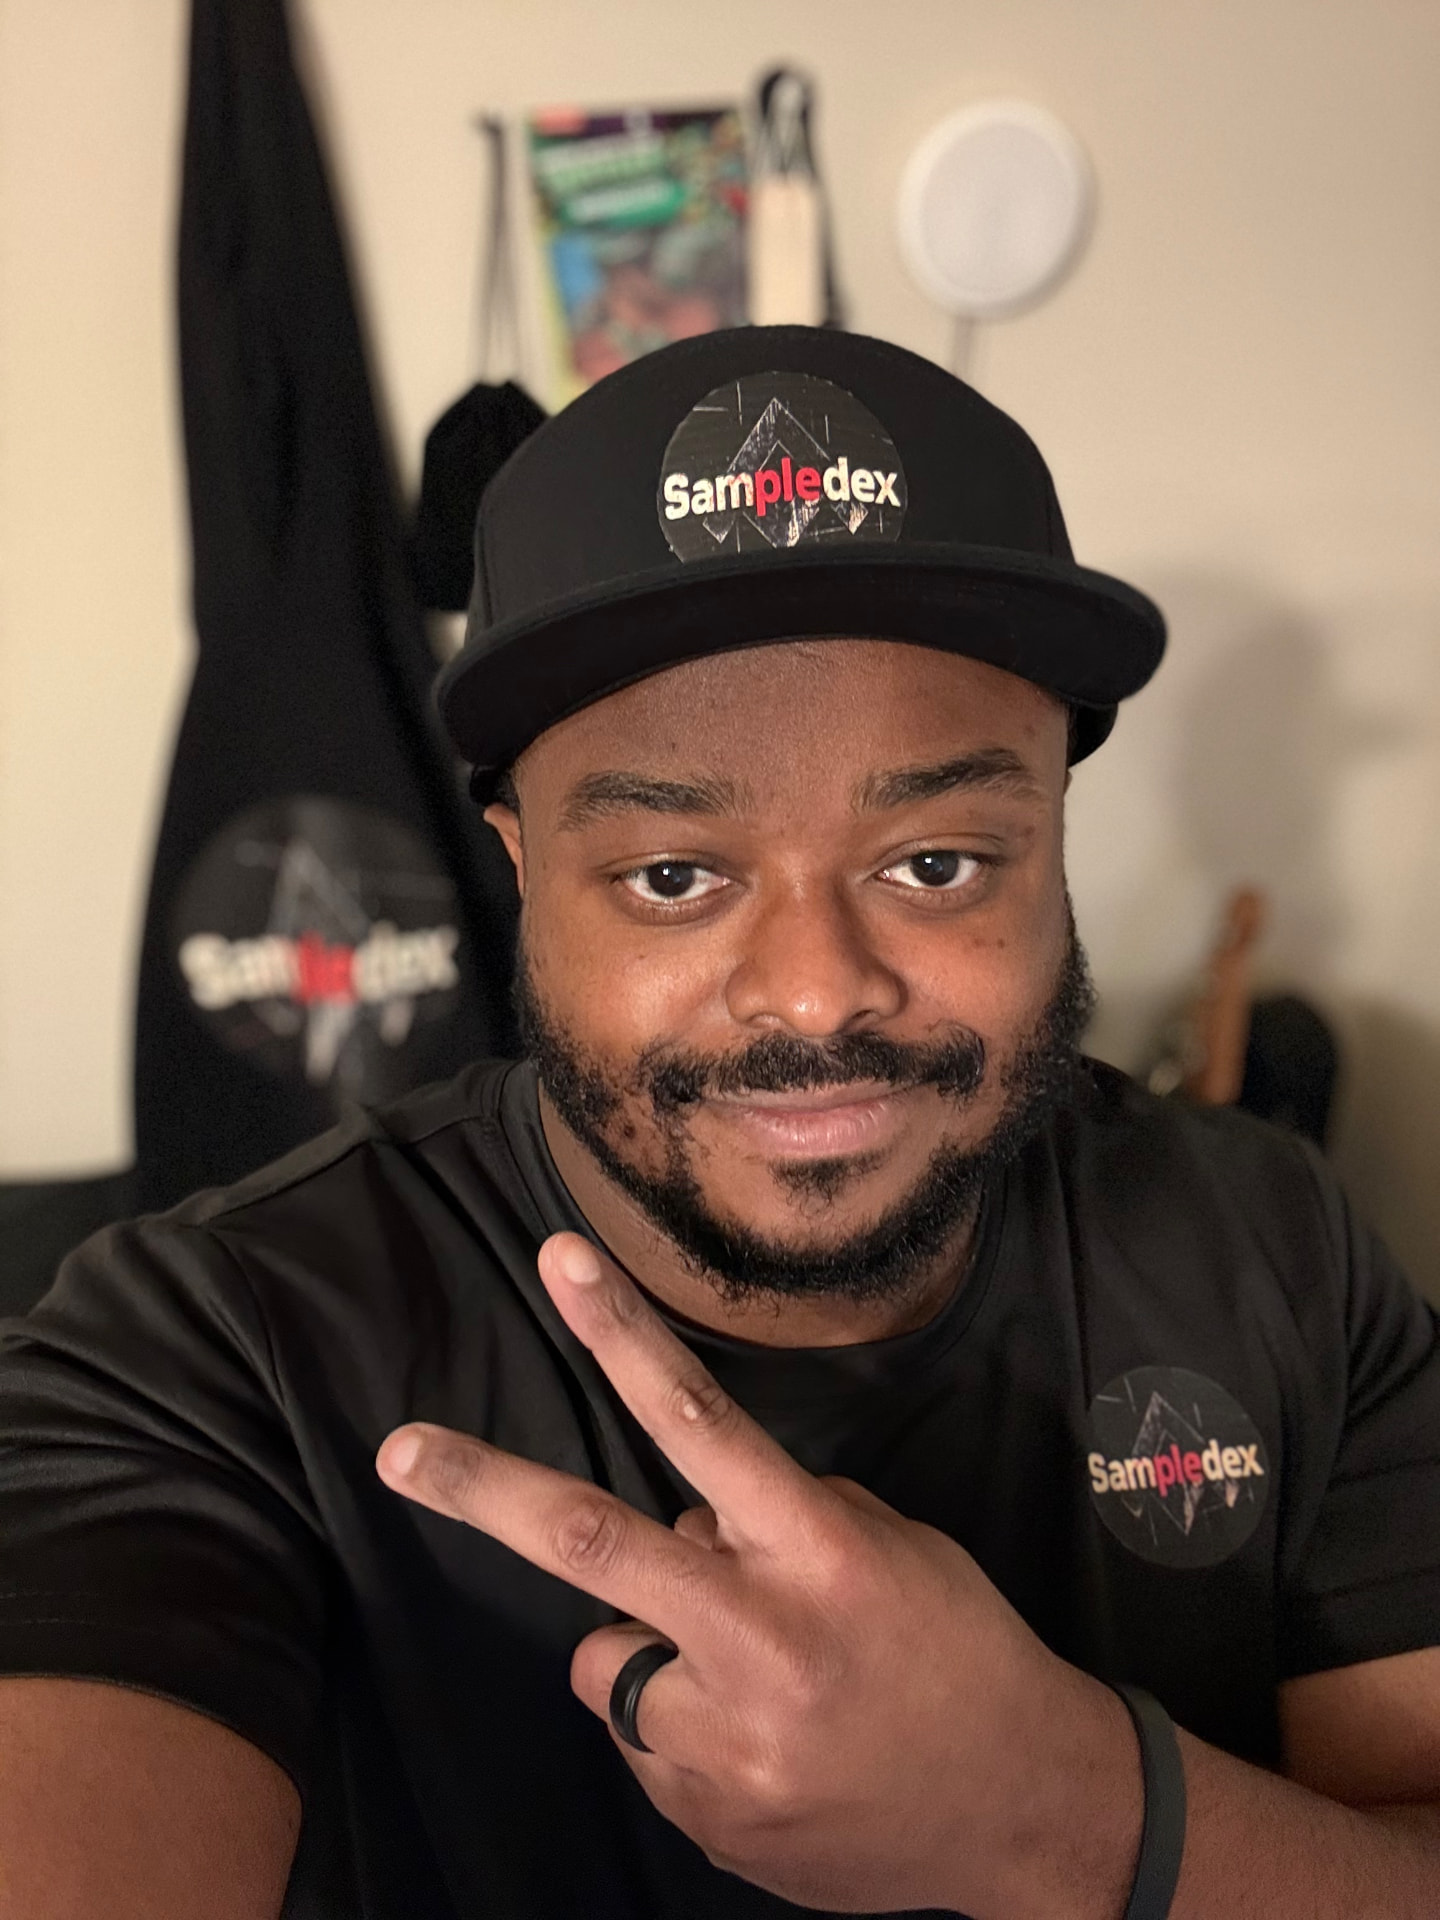
The hat and shirt in these photos are Sampledex test pieces made exactly this way, with a round logo patch pressed onto blank black gear.
What's the difference between iron-ons and print on demand?
| Iron-ons (DIY) | Print on demand | |
|---|---|---|
| Upfront cost | Blanks + transfer paper or vinyl | Usually $0 |
| Cost per item | Low | Higher (base price + shipping) |
| Inventory | You hold it | None |
| Best for | Shows, pop-ups, samples, small runs | Online stores, wide size/color range |
| Control | Total, hands-on | Printer handles quality |
Many artists use both: iron-ons to test designs and sell at gigs, POD to keep an online store open around the clock.
How do you make iron-on merch at home?
What you need:
- Blank shirts, hoodies, tote bags or hats (cotton or cotton blends take heat best)
- Transfer material: inkjet transfer paper for full-color art, or heat-transfer vinyl (HTV) for bold one- or two-color logos
- A household iron with no steam, or a heat press if you'll make more than a few
- Scissors or a cutting machine (Cricut, Silhouette) for vinyl
- Parchment paper or a Teflon sheet
Step by step:
- Pick the right paper. Use dark-fabric transfer paper for black or colored garments and light-fabric paper for white. Light-fabric paper prints mirrored; dark-fabric usually doesn't — check the package.
- Design at actual size. A chest logo is usually 3–4 inches wide; a full front print about 10–12 inches. Round or simple shapes are easiest to cut cleanly.
- Print or cut. Print at the highest quality setting and let the ink dry. For vinyl, mirror the design and weed away the extra.
- Prep the garment. Prewash without fabric softener, then press the spot for a few seconds to remove wrinkles and moisture.
- Press firmly. Follow the transfer's temperature and time. Press down hard and move slowly — don't glide like you're ironing laundry. Edges peel first, so give them extra attention.
- Peel and cool. Some transfers are hot-peel, some cold-peel. Getting this wrong is the most common reason a print lifts.
- Care. Wait 24 hours, then wash inside out in cold water and hang dry.
Hats are tricky. Curved crowns don't sit flat, so a small round patch works better than a big print. Stuff the hat with a towel for support, or use a small hat press or mini iron.
How does print on demand work?
You upload your art, choose products (tees, hoodies, mugs, posters, phone cases), and connect the POD service to a store. When a fan orders, the company prints, packs and ships it under your brand. You keep the difference between your price and their base cost.
Popular options include Printful, Printify, Gelato and Spring, and many artists connect them to Shopify, Etsy, Bandcamp or a Big Cartel store. Bandcamp also has its own merch tools for artists already selling music there.
Tips for POD that sells:
- Order a sample first. Screens lie; fabric doesn't. Check color, size and feel before going live.
- Price for profit. If a base tee costs about $13–$18 before shipping, selling at $28–$35 leaves room for a real margin and occasional discounts.
- Use high-resolution files. 300 DPI at print size, transparent PNG background.
- Keep the line small. Three strong designs beat 30 random ones.
- Shoot real photos. Mockups are fine to start, but photos of you or fans wearing the piece sell better.
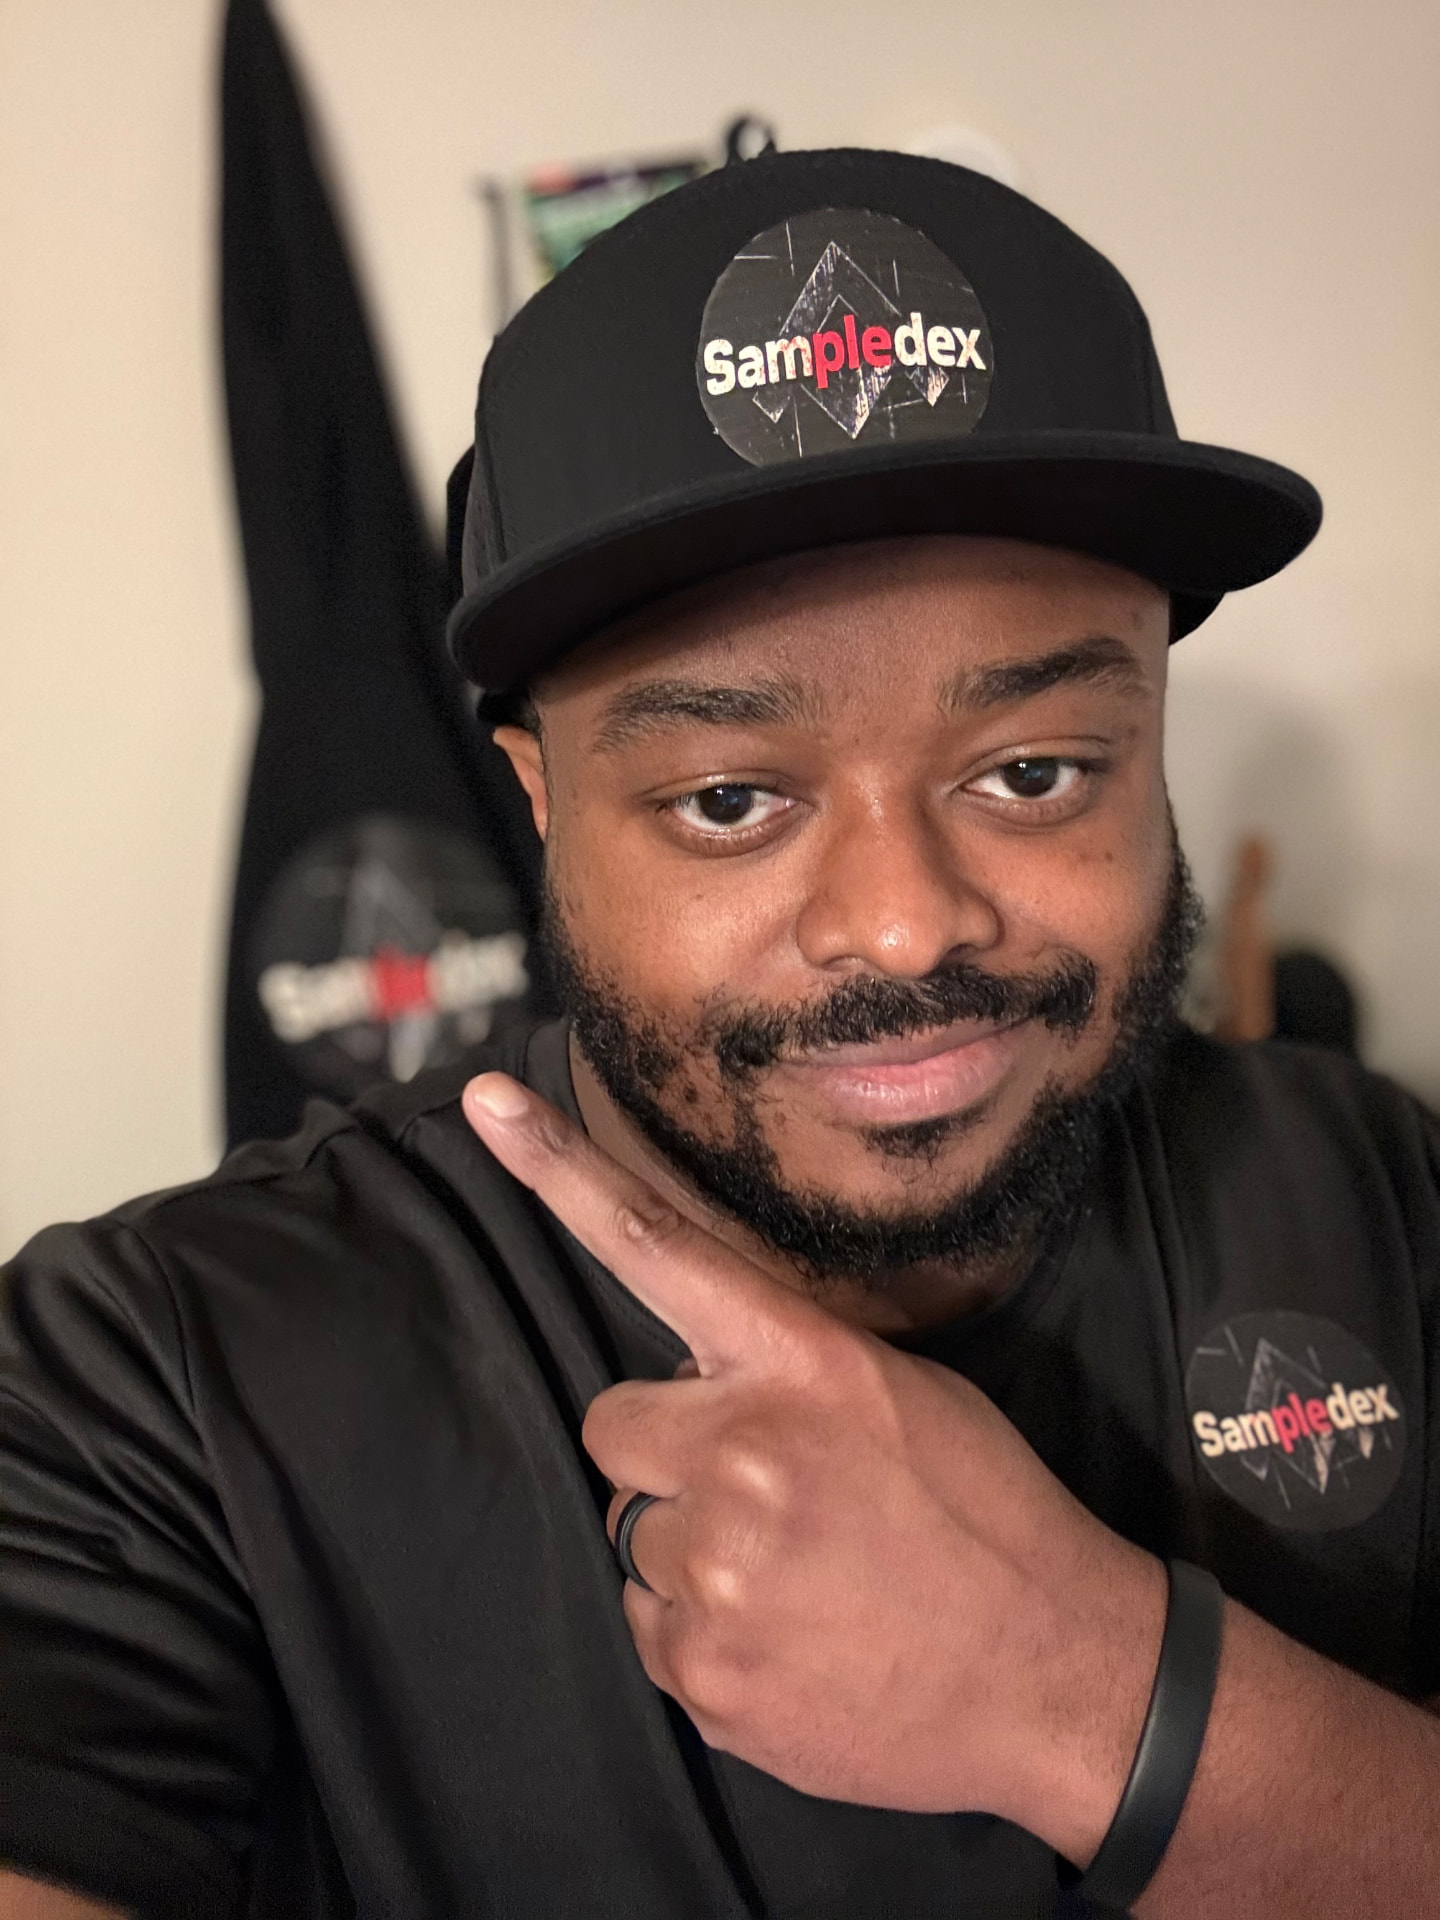 Photo: Robert Anthony / Sampled
What should you put on your merch?
- Your logo or name in a clean, readable shape — the Sampledex round badge works because it reads from across a room.
- A lyric, album title or inside joke your fans already repeat.
- Release-specific drops tied to a new single, tour or anniversary.
- Your own artwork only. Don't use other brands' logos, characters or photos you don't own. Stores like Etsy and POD platforms take down infringing listings, and it can cost you your account.
Which should you start with?
Start with iron-ons if you have a show or pop-up coming up and want something to sell this week for a few dollars per piece. Start with print on demand if you want an always-open online store with no inventory. Once a design proves it sells, consider a bulk screen-print run, which lowers your cost per shirt a lot.
For more ideas, see How to Make Money With Music in 2027, and check out what Sampledex is at sampledex.com (opens in a new tab).