 SAMPLED
How to prepare your mix for mastering: headroom, file format and the checklist
What to bounce, how much headroom to leave, what to do about the limiter on your master bus, and the exact file and paperwork a mastering engineer expects.
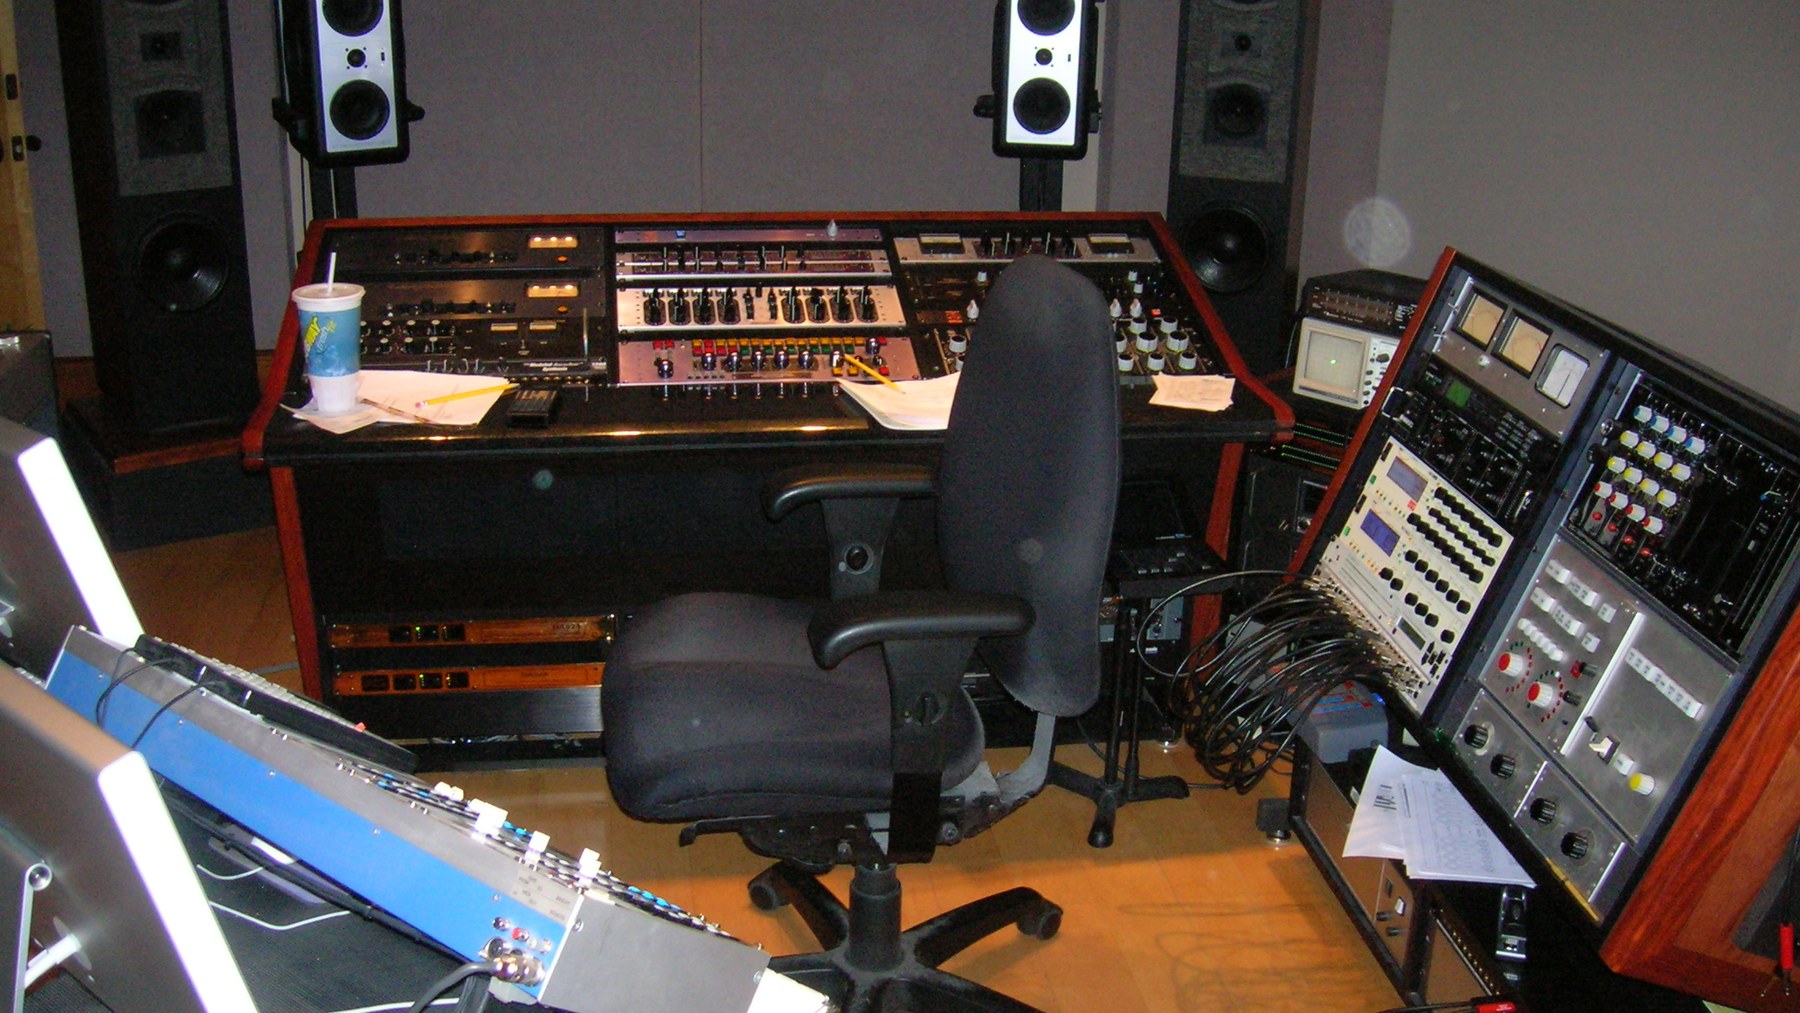
Most mixes that come back from mastering sounding thin, squashed or strangely quiet were not ruined in mastering. They arrived that way. Mastering is the last 5% — level, tonal balance, sequencing, and delivery — and it can only work with the headroom and detail you hand over. This is the practical version: what to bounce, what to leave off, and what to send with it.
Leave headroom on the master bus
Aim for a mix that peaks somewhere around -6 dBFS to -3 dBFS, with the integrated level landing in a comfortable range rather than pinned. The exact number matters less than the principle: the mastering engineer needs room to add level, EQ and compression without immediately running into the ceiling.
Two things make headroom disappear without you noticing:
- A limiter on the master bus. If you mixed into one, bounce a version with it bypassed. Keep the limited version too, and label it clearly as a reference — engineers regularly want to hear the loudness balance you were chasing.
- Bus processing you cannot hear anymore. Anything on the master that is doing more than 1–2 dB of gain reduction is a mix decision, not a mastering decision. Either commit to it and say so, or take it off.
There is no penalty for a quiet file. Digital gain is free. Clipped transients are not recoverable.
Bounce the right file
The delivery format is the least debatable part of the process:
| Setting | Send this | Why |
|---|---|---|
| Format | WAV or AIFF | Uncompressed, universally readable |
| Bit depth | 24-bit (or 32-bit float) | Preserves detail below the noise floor of 16-bit |
| Sample rate | The session's native rate | Never convert up or down before mastering |
| Dither | Off | Dither belongs at the final 16-bit step only |
| Peak | Below 0 dBFS, no clipping | Nothing to undo later |
Apple's own Apple Digital Masters (opens in a new tab) documentation is built around the same idea: the highest-resolution source available, delivered without clipping, encoded once at the end of the chain rather than repeatedly along the way.
Do not bounce to MP3 "just to check." Do not resample a 48 kHz session to 44.1 kHz yourself; sample-rate conversion is a mastering-room task with better tools than your bounce dialog.
Trim, fade and name it properly
Leave a small amount of silence at the head and tail of the file — a second or two — instead of trimming hard against the first transient. If a track has a deliberate fade-out, print it. If it does not, leave the tail intact and let mastering decide, especially if the songs are going to run together on a record.
File names should be boring and unambiguous: 01_artist_title_24-48_nolimiter.wav. Version numbers in the name save an entire round of email.
Understand what streaming loudness actually does
Every major platform plays back with loudness normalization on by default, measured against the ITU-R BS.1770 (opens in a new tab) algorithm that also underpins EBU R 128 (opens in a new tab). Spotify's own documentation (opens in a new tab) explains the consequence plainly: a master that is louder than the target gets turned down on playback, so the extra limiting you fought for buys distortion rather than volume.
The practical read for a mix engineer:
- Chasing a specific LUFS number in your mix is a waste of a session. That is a mastering decision, and it changes per release format.
- What you can control is dynamic range — the difference between the loud parts and the quiet ones. A mix that is already flattened cannot be un-flattened later.
- True-peak matters because lossy encoders overshoot. Leaving room below 0 dBFS is what prevents encoded playback from clipping.
Send stems only if you are asked
Stem mastering — where the engineer receives grouped busses (drums, bass, music, vocals) instead of one stereo file — is a specific, more expensive service, and it changes the balance responsibility. If you send stems unasked, you are asking someone else to finish your mix.
If you are asked for them, the rules are strict: every stem starts at the same timecode zero, every stem is the same length, no stem has its own limiting, and the sum of the stems at unity should reproduce your stereo bounce exactly. Check that last one before sending. It fails more often than you would think.
Send references and notes
The single highest-value thing you can attach is two or three commercial tracks that sound like the target, plus one sentence about why. "This one for the low end, this one for how present the vocal sits." That is more useful than a paragraph of adjectives.
Also send:
- The limited/loud version of your own mix, labelled as a reference.
- Anything intentional that looks like a mistake — a deliberately distorted vocal, a dropout, an unusual mono section.
- Whether the release is a single, an EP or an album, and whether tracks should be gapless.
The paperwork most people forget
Mastering is also the point where the release metadata becomes real. Have this ready:
- ISRC codes for each track, issued through your national agency (usisrc.org (opens in a new tab) in the United States) or through your distributor.
- Exact track titles and artist credits, including features, spelled exactly as they should appear on every platform forever.
- Track order and gaps if it is a project rather than a single.
- Songwriter splits, agreed in writing before release rather than after the first royalty statement.
The Recording Academy's Producers & Engineers Wing (opens in a new tab) publishes free recommendations on delivery and archiving that are worth reading once and then following forever, particularly the part about keeping your session files and printed stems archived alongside the final master.
The checklist
- Master-bus limiter bypassed; a labelled limited reference bounced separately.
- Peaks around -6 to -3 dBFS, nothing clipping.
- 24-bit WAV or AIFF at the session's native sample rate, no dither.
- A second or two of silence at the head and tail; intentional fades printed.
- Clear file name with artist, title, resolution and version.
- Two or three reference tracks plus one sentence of intent.
- ISRCs, final titles, credits, track order and splits collected.
- Session and stems archived somewhere that is not the same drive.
Do those eight things and the mastering conversation stops being about fixing the mix. It becomes what it is supposed to be: the last decisions, made once, on a record that was already finished.