 SAMPLED
Analog synth maintenance: calibration, pots, and keys
Scratchy pots, drifting tuning, and dead keys. What you can do at home and when to stop.
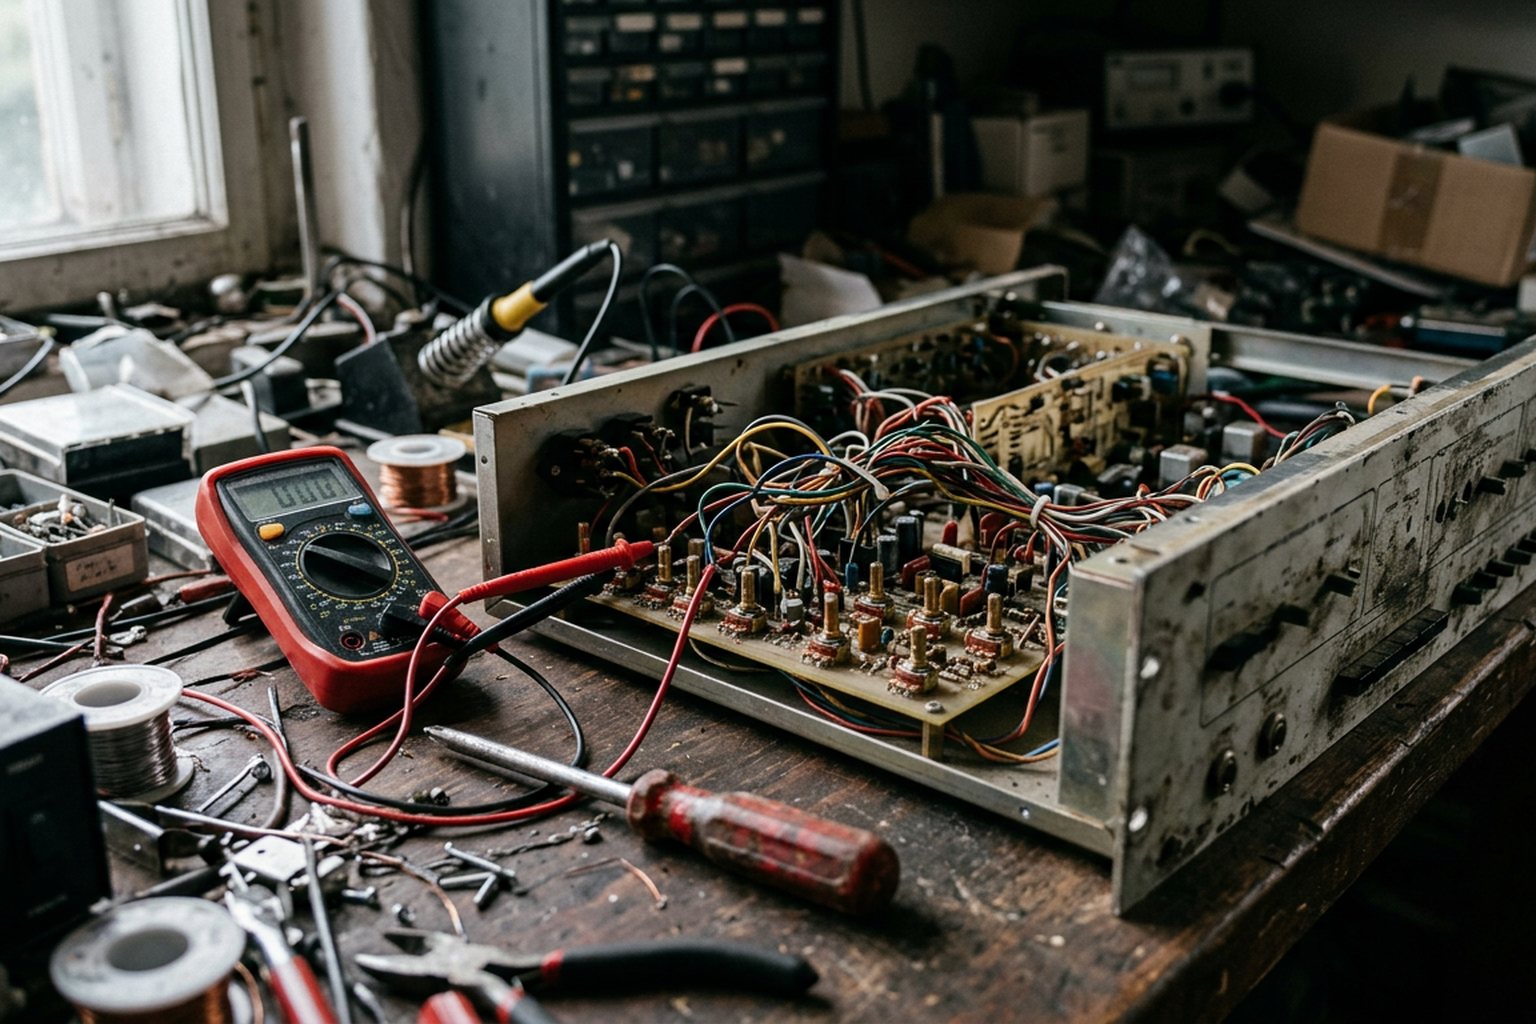
Analog synthesizers are physical systems operating under continuous electrical and mechanical stress. Components degrade, dust settles on optical sensors and key contacts, and thermal cycles push precision oscillator circuits out of alignment over time. Performing basic routine maintenance yourself keeps your instruments playable and stable without paying bench fees for trivial fixes, provided you know where basic care ends and high-risk repair begins.
Scratchy Pots and Sliders: Cleaning and Maintenance
Potentiometers and slide faders fail primarily due to environmental contamination and physical wear. A standard rotary pot consists of a resistive carbon track and a metallic wiper arm that slides across it. Over time, air exposure oxidizes the metal contacts, while dust, skin oils, and ambient humidity collect inside the housing. When moved, the wiper skips across oxidized or dirty patches, creating audible crackles, jumpy control values, or intermittent signal dropouts.
Cleaning a control element requires matching the correct solvent and lubricant to the specific mechanical assembly. Indiscriminate spraying of general contact cleaner into a synth front panel often destroys components instead of fixing them.
- DeoxIT D5 (or contact cleaner with flush solvent): Designed for metal-to-metal contacts, closed rotary pots, jack sockets, and mechanical switches. It dissolves surface oxides and leaves a thin protective film.
- DeoxIT Fader (F-Series / FaderLube): Specially formulated for conductive plastic tracks and carbon-element sliders, such as those found on ARP Odysseys or Roland Juno series instruments. Unlike general contact cleaner, it does not dissolve the viscous damping grease essential for smooth fader travel.
To service a noisy pot or slider, turn off the synthesizer and unplug the power supply. Access the component body from inside the chassis or through the mechanical port hole on the pot casing. Apply a brief, targeted burst of cleaner directly into the casing aperture—never spray from the front panel down the shaft, as this flushes shaft grease directly onto the electrical track. Actuate the control through its full range of motion 30 to 50 times to allow the mechanical wiper to scrub away loosened oxidation. Allow the solvent to evaporate fully before applying power. If a pot remains noisy or exhibits dead zones after two cleaning cycles, the carbon track is physically worn through, and the component requires desoldering and physical replacement.
Keybed Mechanics: Dead Notes, Clunking, and Conductive Rubber
Keybed failures generally fall into two categories: mechanical wear of physical bushings and electrical failure at the contact point. The appropriate repair technique depends entirely on the underlying design of the keybed action.
Pratt-Read and Spring-J-Wire Keybeds
Older vintage synths—including early Minimoog Model D, Sequential Circuits Prophet-5, and ARP units—frequently use Pratt-Read keybeds or open J-wire mechanisms. A spring-loaded metal J-wire makes direct contact with a long gold-plated or silver-plated bus bar running beneath the keys.
Dead or double-triggering notes on J-wire systems are usually caused by tarnish or physical misalignment of the wires. Clean the bus bar and J-wires using isopropyl alcohol (99% concentration) applied with a lint-free swab. Never use abrasive sandpapers or wire brushes, as removing the microscopic precious-metal plating exposes the underlying brass to rapid corrosion. Clunking keys, uneven key height, or sticky key return in Pratt-Read systems stem from degraded neoprene rubber bushings. Restoring key feel requires disassembling the keybed, removing the old hardened or melted rubber boots from the metal posts, and installing fresh silicone replacement bushings.
Conductive Rubber Membrane Keybeds
Later analog synths and modern reissues (such as the Roland Juno-106, Korg Poly-800, and modern Fatar keybeds) rely on flexible rubber contact strips positioned above printed circuit board (PCB) traces. When a key is pressed, a conductive carbon pill attached to the rubber dome bridges two interleaved copper fingers on the PCB.
Key Pressed down ---> [ Rubber Dome Collapses ]
                           |
                     [ Carbon Pill ]
                           |  (Bridges contact)
                     [ PCB Gold/Copper Traces ]
When individual keys stop triggering, dirt or oil has likely isolated the carbon pill from the trace. Disassemble the keybed housing to remove the rubber strip. Clean the PCB contact fingers using 99% isopropyl alcohol and a microfiber cloth. Clean the soft rubber carbon pads gently using the same alcohol; scrubbing aggressively will strip the ultra-thin layer of conductive carbon off the rubber boot. If a pad remains unresponsive after cleaning, re-coat the carbon surface using an electrical conductive coating spray or repair liquid designed specifically for rubber keypads.
Calibration: Oscillator Tracking, Filters, and Trimmers
Analog Voltage-Controlled Oscillators (VCOs) and Voltage-Controlled Filters (VCFs) depend on precise voltage scaling. Changes in ambient room temperature, component aging, and mechanical vibration shift the tuning tracking across octaves. Before attempting any electrical calibration, power the synthesizer on and allow it to sit idle for at least 20 to 30 minutes. This allows the internal voice boards, temperature-compensating resistors (tempcos), and matched transistor pairs to reach thermal equilibrium.
Synthesizer voice boards feature multiple multi-turn trim potentiometers (trimmers) designed to calibrate specific parameters:
- Initial Frequency (Offset): Sets the absolute pitch benchmark for a reference note (typically C3 or C4).
- Scale (V/Oct Slope): Adjusts the interval tracking so that playing an octave interval on the keyboard corresponds precisely to a doubling of control voltage frequency (1.000V per octave).
- High-Frequency Compensation (HF Tracking): Adjusts pitch linear response in upper registers (C5 and above) where transistor junction capacitance distorts scale accuracy.
- Filter Resonance / Tracking: Calibrates self-oscillating VCFs to scale evenly across the keyboard spectrum like an additional sine wave generator.
Calibration requires a accurate digital tuner or frequency counter, a calibrated digital multimeter (DMM), and a non-conductive plastic or ceramic alignment tool. Do not use standard metal jeweler’s screwdrivers. If a metal blade slips off a tiny trimmer leg, it can short sensitive lines directly to ground or adjacent voltage rails, instantly destroying custom integrated circuits like Curtis (CEM) or Solid State Micro Technology (SSM) voice chips.
To calibrate VCO tracking, establish a calibration loop between low and high octave notes:
Step 1: Play C2 ---> Adjust Initial Frequency trimmer until tuner reads exact target C2.
Step 2: Play C5 ---> Check tuner reading.
Step 3: If C5 is sharp or flat, adjust the Scale trimmer to trim half the error distance.
Step 4: Return to C2 ---> Readjust Initial Frequency trimmer to restore exact C2 target.
Step 5: Repeat steps 1–4 until both C2 and C5 hit exact pitch zero.
DIY Scope vs. Bench Tech Repair
Understanding when to stop taking screws out of a chassis prevents minor maintenance from becoming irreversible electronic damage. Basic cleaning and non-invasive tuning are suitable home tasks; board-level trace repair and power supply re-capping require high-grade soldering stations, schematics, and bench experience.
| Maintenance Task | Risk & Skill Level | Essential Tools | Hand Off to Professional If... |
|---|---|---|---|
| Pot/Slider De-scratching | Low | DeoxIT D5/Fader, screwdriver set | The track is physically grooved or snapped off internally. |
| Rubber Pad Cleaning | Low to Medium | 99% Isopropyl alcohol, swab, hex keys | The carbon pad layer is completely worn away or torn. |
| J-Wire Realignment | Medium | Needle-nose pliers, contact cleaner | The gold/silver bus bar plating has flaked off to raw metal. |
| Mono Synth VCO Calibration | Medium | Plastic alignment tool, digital tuner | Trimmers show no effect, indicating failed op-amps/tempcos. |
| Polyphonic Voice Calibration | Medium to High | Oscilloscope, non-conductive wands | Voice cards exhibit non-linear drift or thermal runaway. |
| Power Supply Recapping | High | Desoldering station, multimeter, ESD mat | Mains voltages are exposed, or transformer hum persists. |
| Battery Corrosion Repair | Critical | Neutralizing wash, wire jumpers, iron | Acid has eaten through multi-layer PCB traces. |
Quick Answers
Can standard WD-40 be used to clean synthesizer pots or keys?
No. Standard WD-40 is a water dispersant and penetrating oil, not a electronic contact cleaner. It leaves a thick, non-conductive oily residue that attracts dust, degrades plastic enclosures, and permanently dissolves the viscous damping grease inside faders and mechanical assemblies. Use only dedicated residue-free contact cleaners or specialized lubricant formulations like DeoxIT D5 and Fader F5.
How long should an analog synth warm up before starting calibration?
Allow a minimum warm-up window of 20 to 30 minutes in the room where calibration will occur. Monophonic and polyphonic analog circuits rely on internal thermal balance across matched transistor pairs and temperature-compensating resistors. Calibrating a cold synthesizer will cause pitch and filter tracking to drift out of alignment as the internal cabinet heat rises during standard operation.
Why do certain key strokes trigger double notes or drop velocity completely?
On rubber membrane keyboards, velocity is measured by the time difference between two separate conductive rubber contacts striking the PCB. If dust or oil gets trapped under one of the contacts, the synth CPU miscalculates this timing delay, leading to maximum-velocity spikes, inconsistent triggering, or completely dead notes. Cleaning the rubber boots and PCB fingers with high-purity isopropyl alcohol resolves this issue in most cases.
Is it safe to adjust internal trimmers without an oscilloscope?
Single-voice monophonic synths can usually be calibrated for pitch scale and initial frequency using a digital chromatic tuner and non-conductive tools. However, calibrating voice-card balancing, pulse-width symmetry, waveshape distortion, or complex polyphonic voice scaling across six or eight independent cards generally requires an oscilloscope to visualize waveforms and ensure identical voice matching.
Keep your synths covered with a lint-free dust cover when not in use, and keep them powered off during long periods of storage to limit heat buildup on passive components. Operating the physical switches, pots, and keys regularly prevents oxide from accumulating on mechanical surfaces in the first place. When working inside any instrument, proceed methodically, document screw placements, and know when to pass complex board-level issues to a qualified bench technician.